How to Configure Design and Content for New-gen Instant Site Website
What is Instant Site
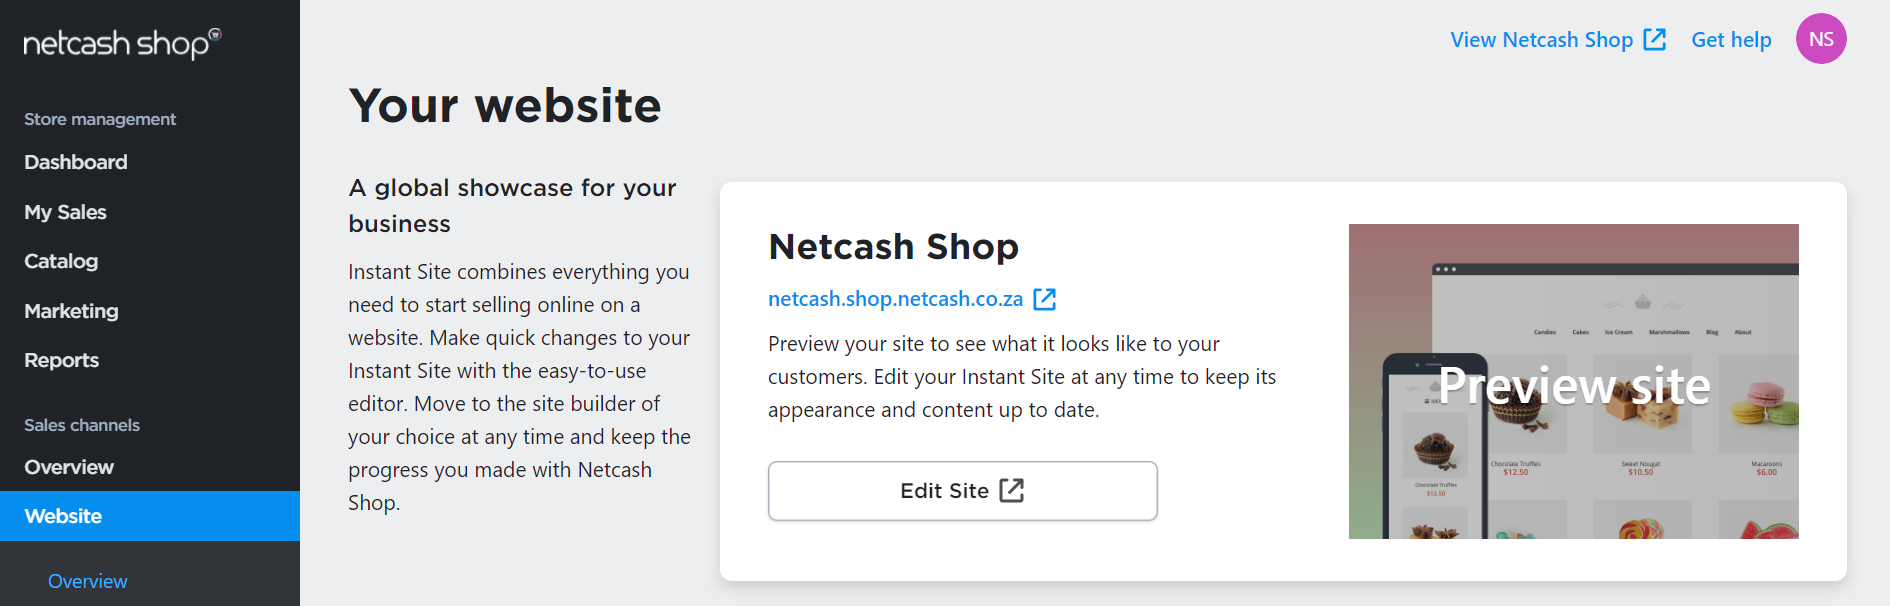
Instant Site is a free website and website builder with built-in eCommerce. Instant Site is free on all Netcash Shop plans and can be accessed from the Netcash Shop admin panel under Sales Channels > Website > Overview.
When you sign up for Netcash Shop, you can use Instant Site to create a website with built-in eCommerce and start selling online in minutes. The website builder is customisable so you can add, remove and arrange blocks to create an attractive, functional website.
You can choose from a range of free themes and blocks and easily change the content and design of the blocks to meet your needs and reflect your brand.
Instant Site is designed to be fully responsive so your website will look great on any device including desktop, laptop, tablet and mobile phone.
To get started with your Instant Site, you can click on ‘Edit Site’ in the Netcash Shop admin panel, under the ‘Website’ menu:
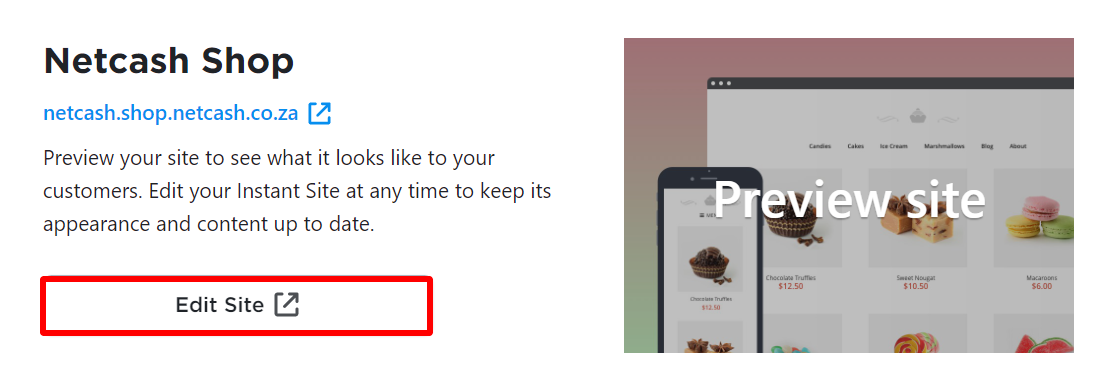
Table of contents
- Editing Instant Site
- Adding blocks
- Editing blocks
- Changing the order of blocks
- Deleting blocks
- Adding navigation menu
- Adding categories menu
- Adding action links
- Configuring the store blocks
- Applying default fonts and CSS
- Changing website address and store name
- Showing the cookie consent banner
Editing Instant Site
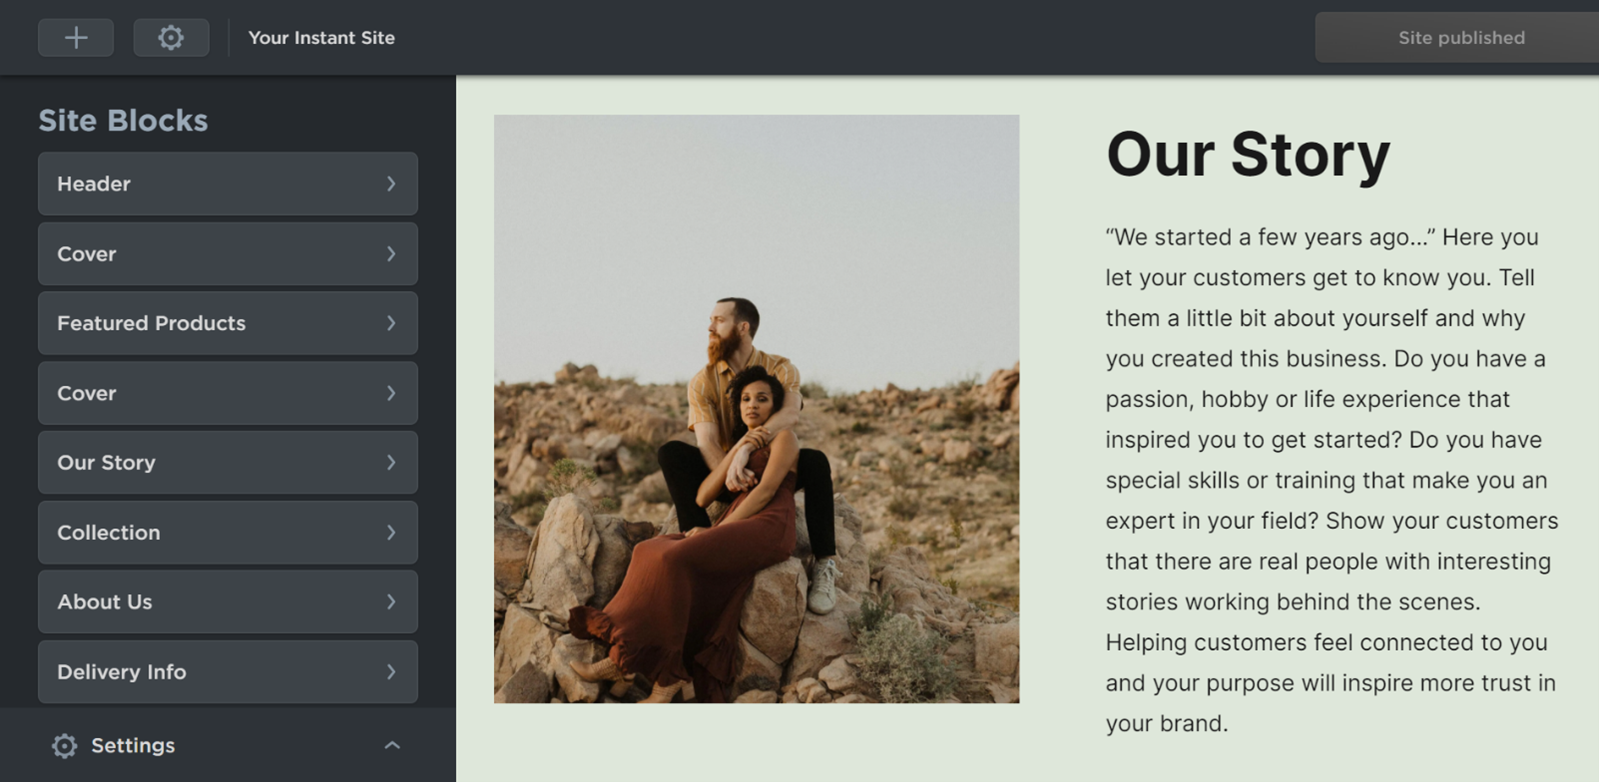
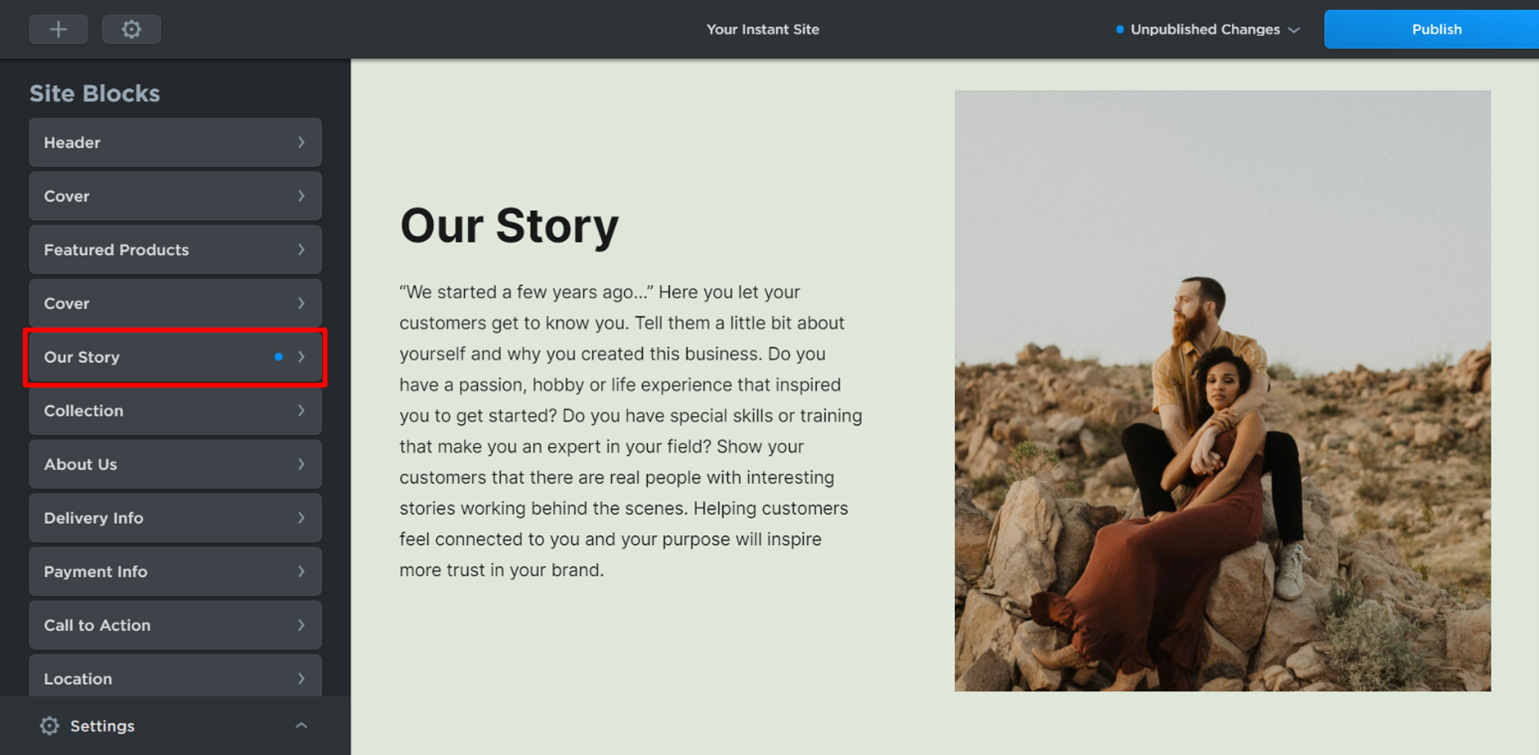
Click on ‘Edit Site’ to open the Instant Site website builder and editor. The site builder will open in a new browser window and you will see a list of the default site blocks as a template.
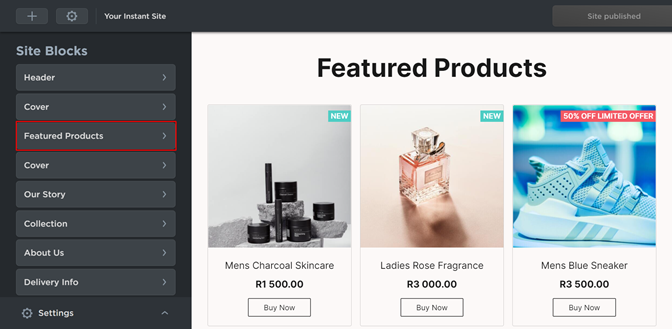
The blocks that you see under the heading ‘Site Blocks’ are the actual blocks that make up your Instant Site and they appear in the same order as the list:
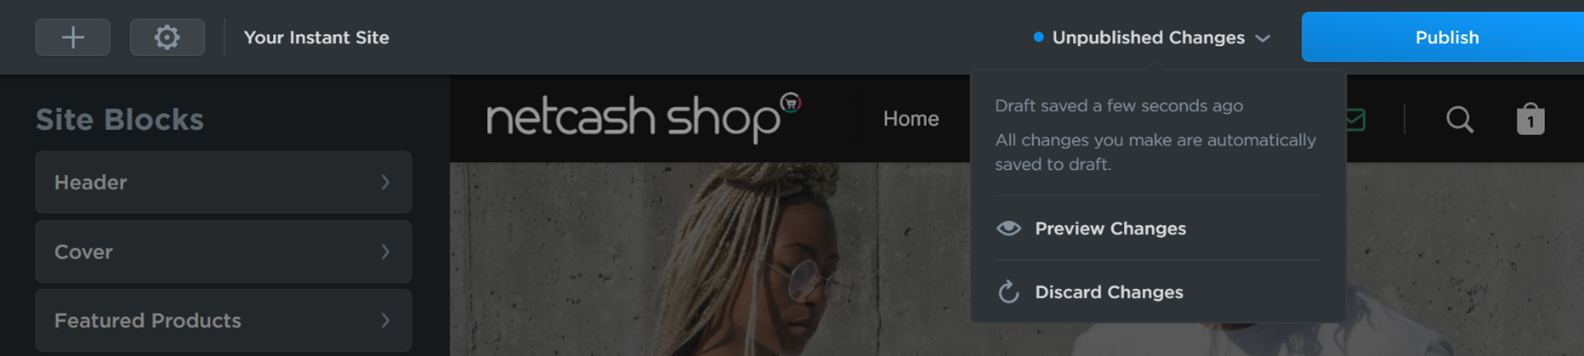
If you would like to visit your Instant website in a new browser window, you can click on ‘Your Instant Site’ at any time:
![]()
And remember to save your changes by clicking ‘Publish’ or view and discard changes if you do not wish to publish:
Adding blocks
You can add, remove or replace the default blocks when editing Instant Site. For instance, if you would like to add more information to your site explaining ‘shipping terms’ or add an ‘About Us’ section, you can do this easily and there is no limit to the number of blocks you can add.
How to add a block to your Instant Site:
1. In the Netcash Shop admin panel, go to From your Netcash Shop admin, go to Sales Channels > Website > Overview and click on ‘Edit Site’.
2. Click on “+” to add a block.

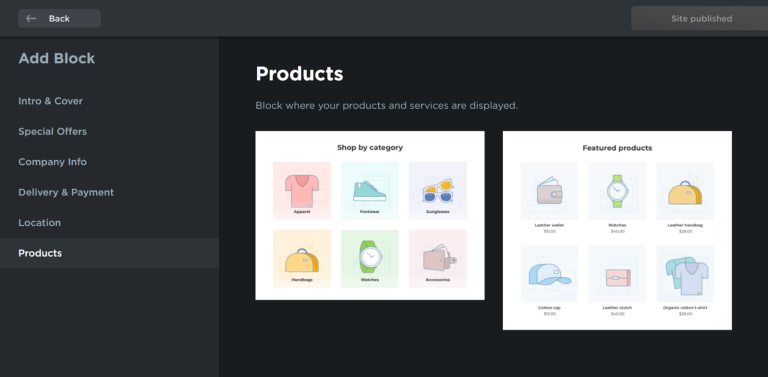
3. This will open a menu titled ‘Add Block’ and you can preview a range of block options grouped by their topic:
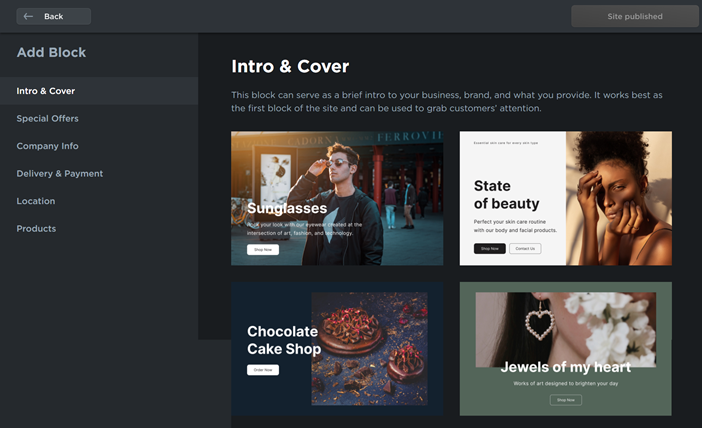
4. Once you click on the block, it will be opened for editing and added to your list of Site Blocks, right before the Footer block.
You can edit your block content and change the design to your liking, and you can reorder your blocks to change their position on your website. If you have duplicating blocks (e.g., you have added a new Cover block with the layout that appeals to you more), you can easily delete blocks from your website.
Editing blocks
You can customise each block by editing the typography, colours and images to align with your brand and business identity. Your website blocks are listed in the menu under the heading ‘Site Blocks’.
To edit the content of a block:
1. In the Netcash Shop admin panel, go to From your Netcash Shop admin, go to Sales Channels > Website > Overview and click on ‘Edit Site’.
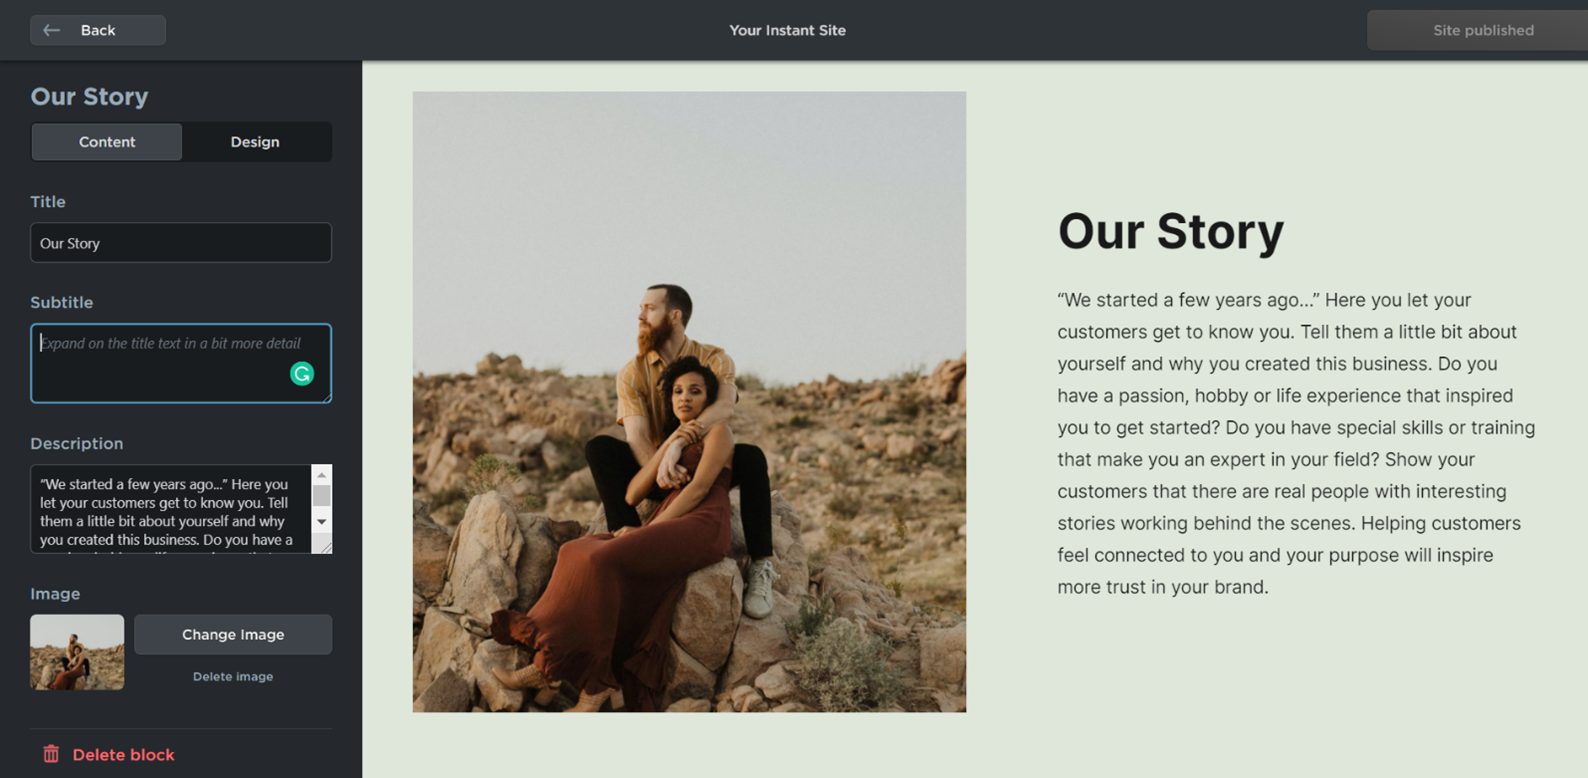
2. Сlick on the block you would like to edit.
3. On the Content tab, find the element you would like to edit.
4. You can make changes to the text, upload a new image, add a ‘call to action’ / ‘action link’, etc.
Initially, you will see pre-entered text in the template which acts as a tip to give you an idea of what to write in the text fields.
Images can be uploaded in multiple formats including PNG, JPG, GIF, JPEG2000, WEBP, and TIFF. The limit to the size of the image file is 20 MB each.
NOTE: When using images from free online sources, it’s essential to adhere to proper usage and crediting guidelines to respect the creators’ rights. Firstly, ensure that the images you choose are indeed labeled for free use, either under a Creative Commons license or public domain. Next, accurately attribute the image by including the creator’s name or username, the title of the image (if applicable), a link to the source, and any specific license information provided by the creator. This information should be prominently displayed on the image or in the page footer. Additionally, if modifications are made to the image, clearly indicate this in the credits. Please note that this does not apply to the free Instant Site images, they do not require crediting.
To edit the design of the block:
1. In the Netcash Shop admin panel, go to From your Netcash Shop admin, go to Sales Channels > Website > Overview and click on ‘Edit Site’.
2. Сlick on the block you would like to edit.
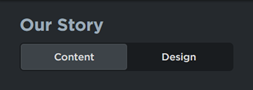
3. Use the toggle to switch to the Design tab:
4. On the Design tab, you can make changes to the block layout, typography, style and colour for the elements in the block. You can also change the background and choose which elements to display.

As mentioned above, you must save your changes by clicking on ‘publish’. You also have the option to go back to a previously saved version of your website by clicking on ‘Discard Changes’ in the drop-down menu at the top of the editor.
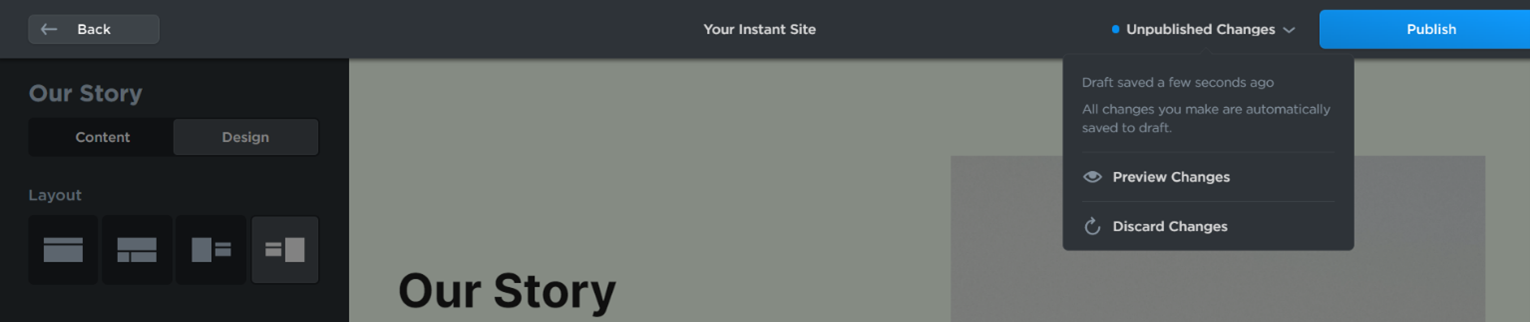
If you would like to start from scratch you can select ‘Restore block defaults’.
If you have unsaved changes in any of your blocks, the site block will be marked with a blue dot:
Once you are done editing your website, click the Save & Publish button in the top right corner of the Editor.
Changing the order of blocks
In the first 3 steps, you learned how to add and edit blocks. You can also change the order that the blocks are displayed on your Instant Site. The order of the blocks in the site builder menu will be the order that the blocks are displayed on your website.
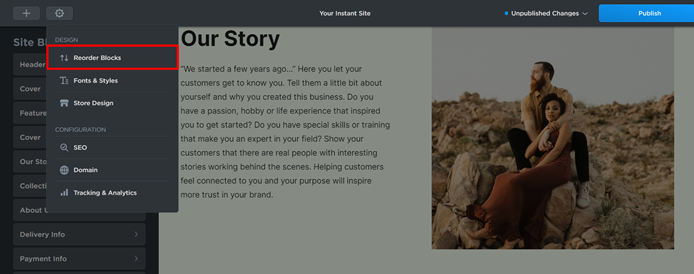
To reorder the blocks, click For this, click Settings > Reorder Blocks. After you do that, you will be able to drag and drop your Instant Site sections:
The header and footer blocks can not be adjusted so they will always remain in the first and last position. To change the order of any blocks in between the header and footer, click and drag to the desired position.
Deleting blocks
It is easy to delete blocks and remove a section from your website.
To remove a block from your Instant Site:
1. In the Netcash Shop admin panel, go to From your Netcash Shop admin, go to Sales Channels > Website > Overview and click on ‘Edit Site’.
2. Сlick on the block you would like to edit.
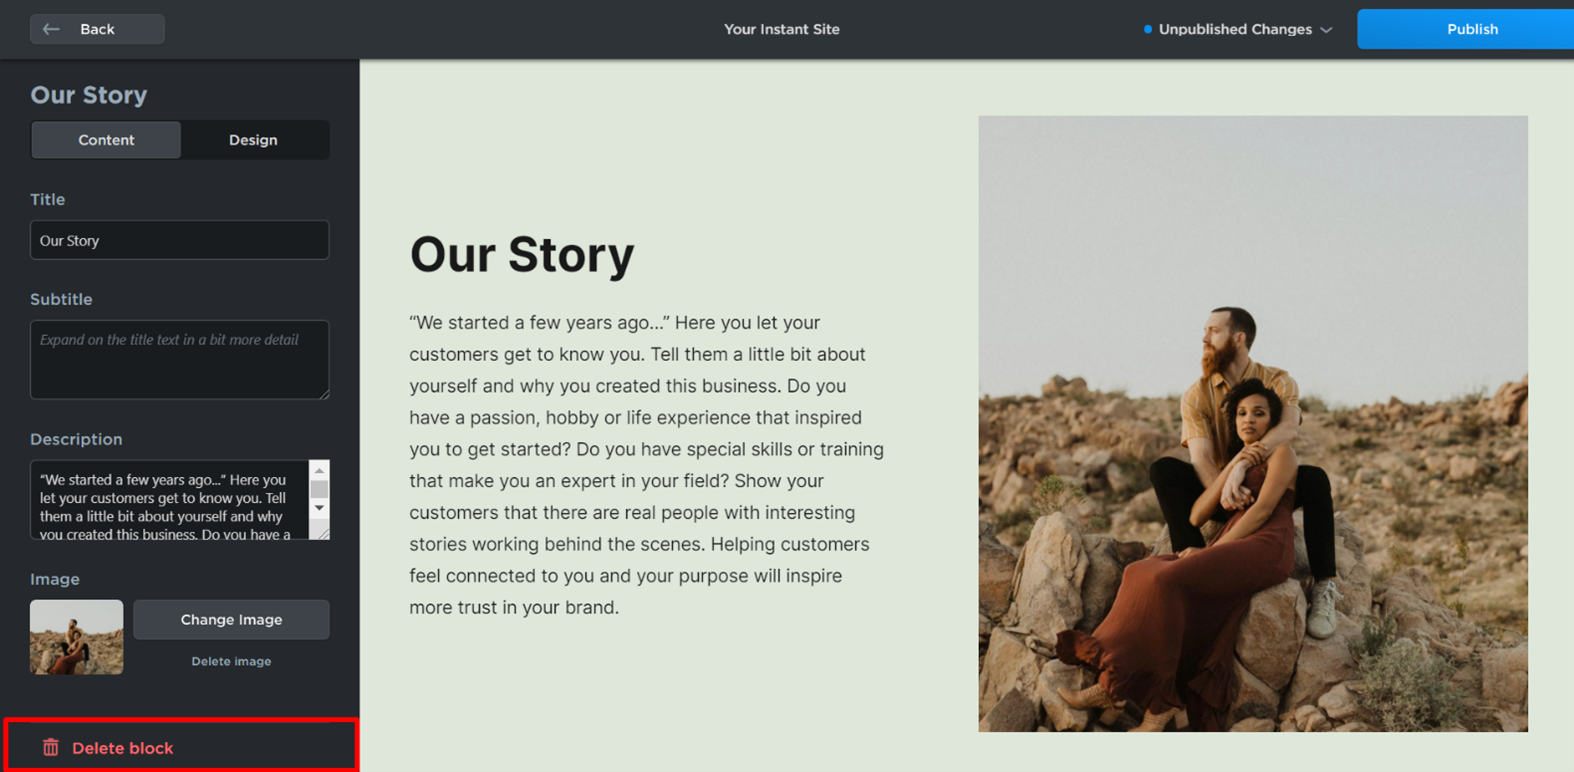
3. Scroll down and click Delete block at the bottom:
If you delete a block and you choose to add this block at a later stage you can browse the library and add a similar block from the available options.
Although it is not possible to delete or reorder the header and footer blocks on your website, you can hide them so that they are not displayed on your website. To hide the header or footer, click on the corresponding block in the website editor, scroll down and disable the Show footer or Show header toggles at the bottom. You can easily add them by enabling them at a later stage.
Adding navigation menu
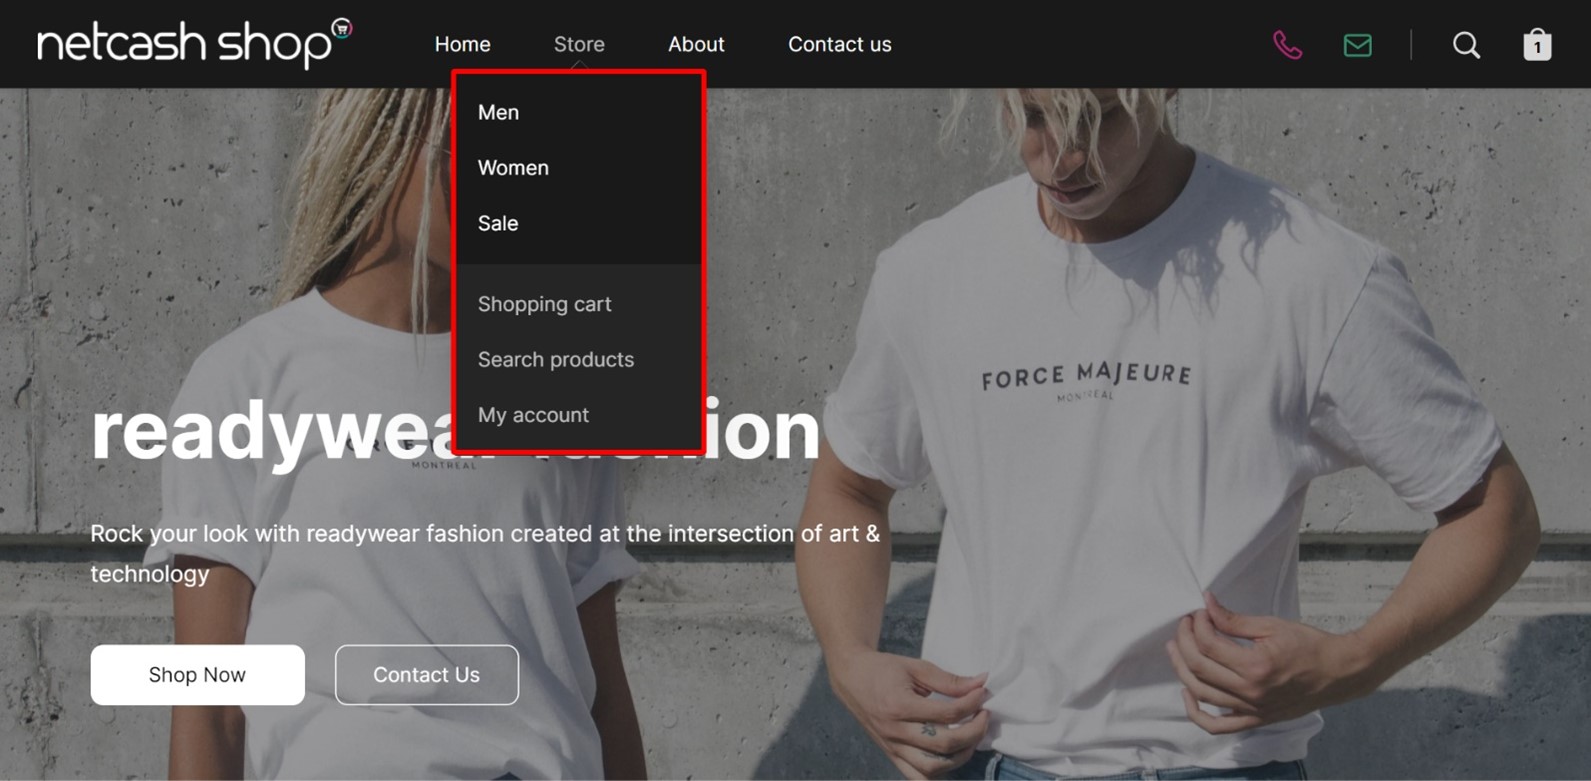
The navigation block is the block in the header of your website containing menu items, highlighted in red below:
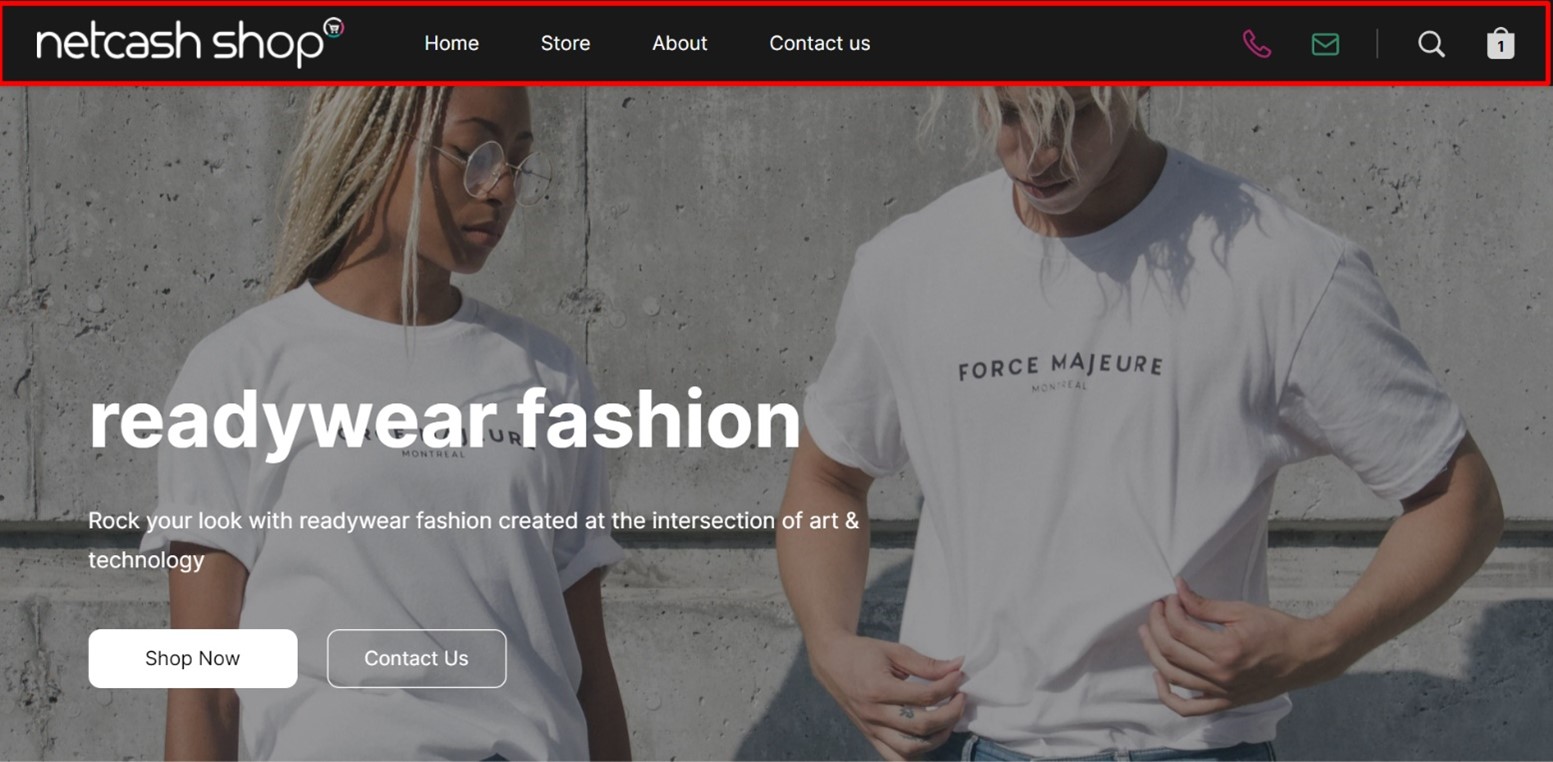
It is best practice to have a menu on your website for customers to find what they are looking for. The navigation menu on your Instant Site is displayed as a horizontal bar of links at the top of your site for customers shopping on a desktop computer. If your customer is browsing on a mobile device the navigation menu will be displayed as a hamburger menu instead, and they will have to tap on the hamburger icon to expand the menu.
When a customer clicks on a link in your navigation menu, a certain action will be performed. When you set up your navigation block, you will choose which menu items to display and the action to be performed when clicked by your customers.
Depending on how you set up your navigation menu, your customers can be redirected to a specific block of your site or any other page on the internet. It is also possible to create a click-to-call or mail-to link if you would like to make it easy for customers to phone or email your business.
Setting up your navigation menu is easy:
1. In the Netcash Shop admin panel, go to From your Netcash SHop admin, go to Sales Channels > Website > Overview and click on ‘Edit Site’.
2. In the Site Blocks section, click Header.
3. In the Content tab, click the Navigation menu.
4. You can edit the existing links or you can add a new one by clicking + Add Menu Item.
5. Enter a name in the Name field that will make sense to your customers. Businesses generally stick to common terms like ‘About Us, Give Us a Call’, etc.
6. Choose the action on click:
- Scroll to site block – a customer will be redirected to one of your site’s blocks.
- Open page – you can enter any URL to redirect customers on that page.
- Compose email – after clicking the link, the default mail service on a customer’s device will open.
- Call phone – after clicking the link, a customer’s phone will dial your number.
- Go to store – a customer will be redirected to your storefront
7.Click Save and Publish.
8. If you choose to, you can rearrange the order of the menu items by dragging them into position. When you are happy with the order, click on Save and Publish. Go to Header > Navigation menu to see the list of all the links you created.
To add some finishing touches, you can change the design of the navigation bar to align with your company and brand identity.
This is how you can edit the design of the website menu:
1. In the Netcash Shop admin panel, go to From your Netcash Shop admin, go to Sales Channels > Website > Overview and click on ‘Edit Site’.
2. Navigate to the Site Blocks section and click on Header.
3. Then select the Design tab and click on Background to choose the colour for the navigation bar.
4. Click the Navigation menu to choose the font and colour for the links in the bar.
5. Click Save and Publish.
Adding categories menu
You can display your root categories on the navigation menu of your website to help your customers find what they are looking for in the shortest time possible:
To add your product categories to the navigation menu:
1. In the Netcash Shop admin panel, go to From your Netcash Shop admin, go to Sales Channels > Website > Overview and click on ‘Edit Site’.
2. In the menu on the left, click Header > Navigation Menu and click + Add Menu.
3. Name the item so that it’s clear for customers that it is the link to your store.
4. Click the Action on click drop-down and select Go to store.
5. Make sure the Show categories on menu hover toggle is enabled. You can turn the toggle off to hide the categories menu.
6. Keep the Show store links on menu hover toggle turned on to show store links like Shopping cart, Account, and Product Search.
7. Click Save and Publish.
When your customer is viewing your website on a mobile device, the categories menu is not shown on hover as it is on desktop. When your customer taps the store link from the menu, they will be redirected to your store.
You can also change the layout and appearance of your storefront category blocks in your Shop dashboard. Go to Configuration > Design and scroll down to the category design section to make your selections.
Adding action links
You can add action links to some sections of your Instant Site. Action links are clickable menu items displayed as text or buttons with text. When these menu items are clicked a certain action will be performed.
You can add links to specific sections of your Instant Site or a link to a specific product or category.
To set up action links:
1. In the Netcash Shop admin panel, go to From your Netcash Shop admin, go to Sales Channels > Website > Overview and click on ‘Edit Site’.
2. Сlick on the block you would like to edit.
3. On the Content tab of the block, click Add Action Link.
The ‘Cover’ block has the option to add one or two action buttons, the Primary action and Secondary action buttons.
1. Enter Title. This will be the text of your link.
2. Choose Action on click: Scroll to site block, Open page, Compose an email, Call phone or Go to store.
3. Choose the site block/enter URL/enter email or phone number.
4. If you would like to change the appearance, font, size, shape, and colour of the action link on the Design tab.
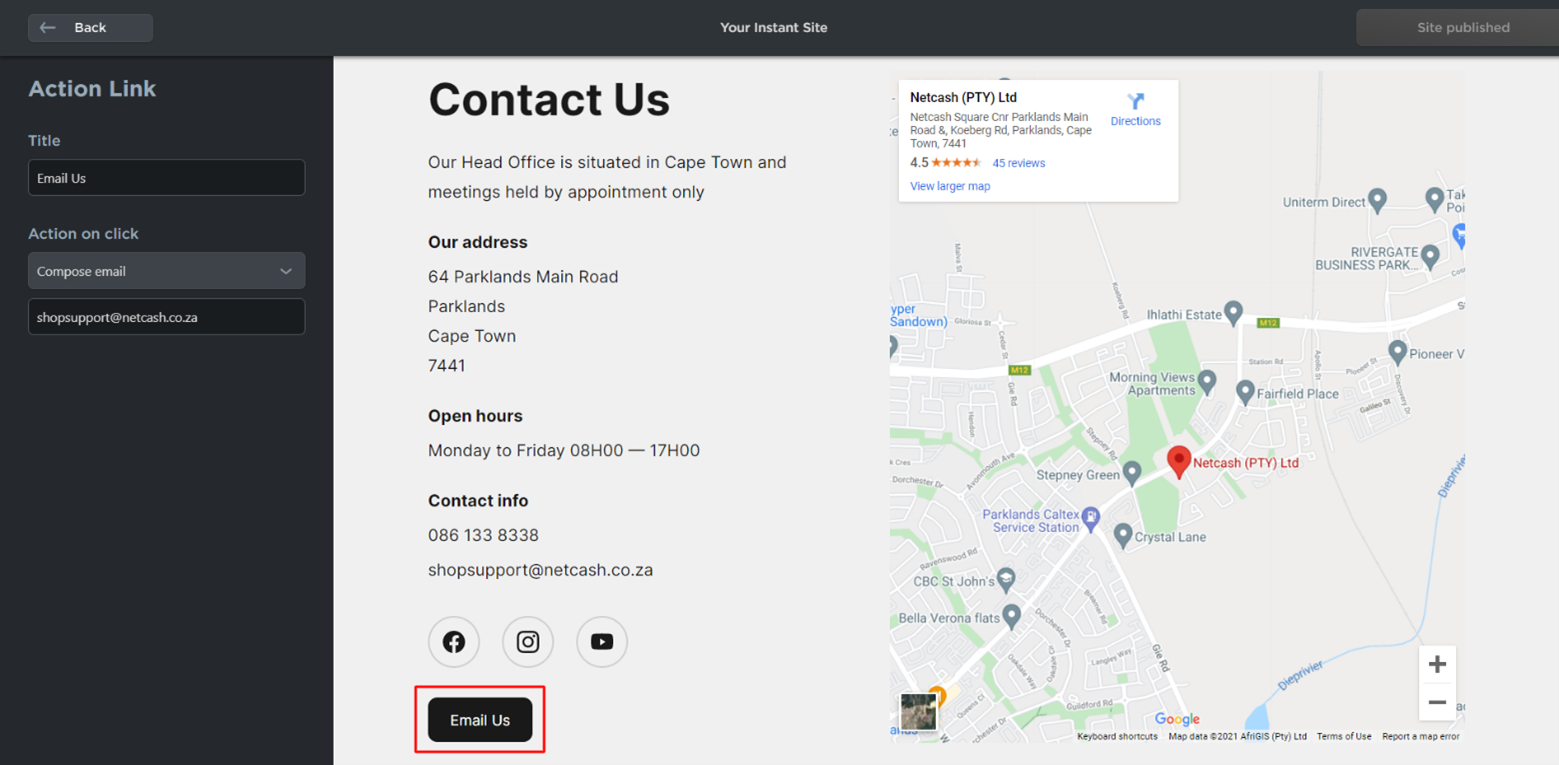
Have a look at the example below of an action link for an email in the “Contact Us” block:

Applying default fonts and CSS
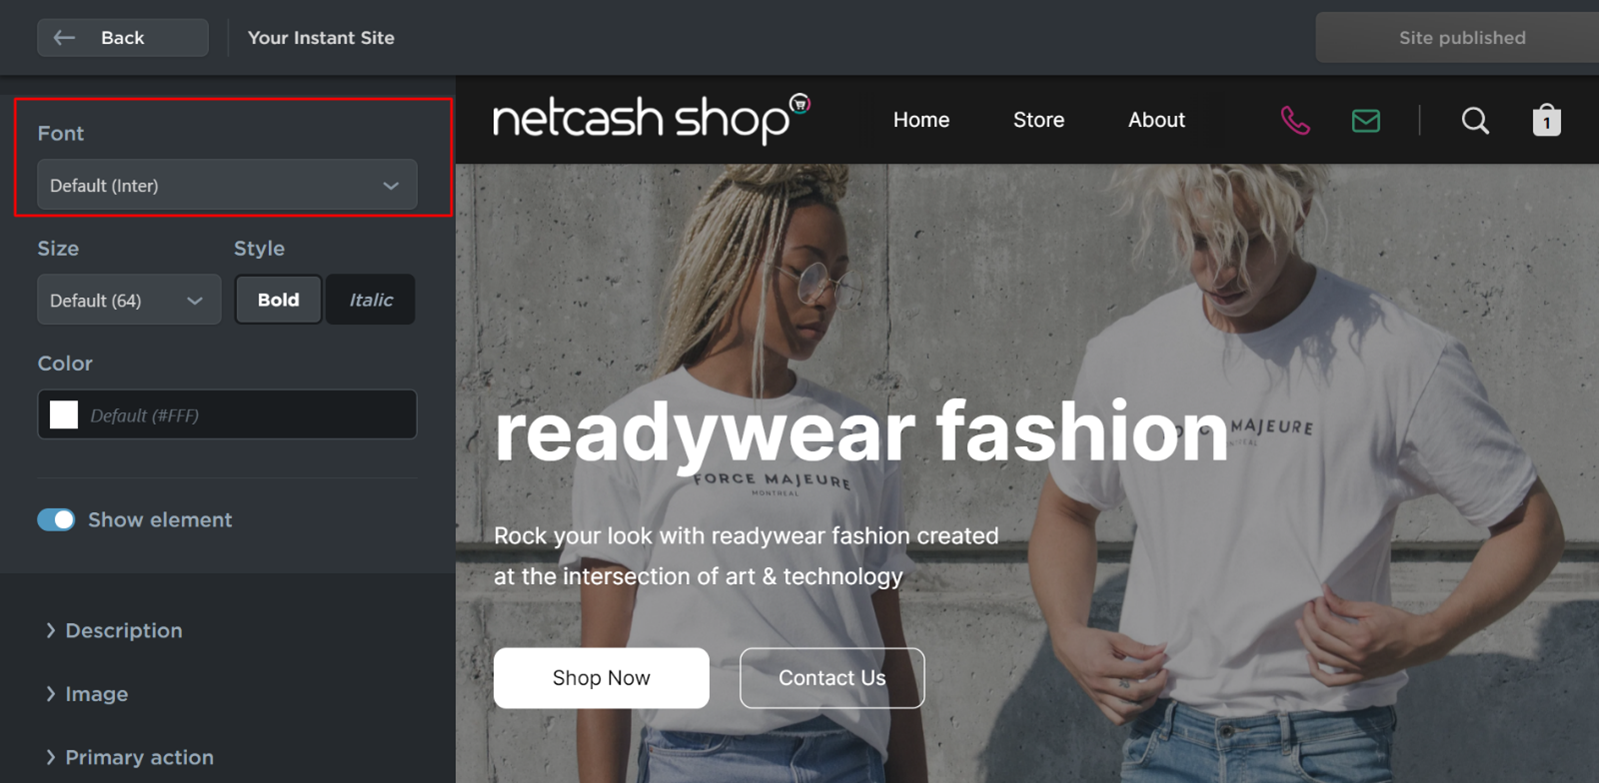
There are two major ways you can change the fonts on your Instant Site. First, you can set the fonts for every element of every block individually in the Design tab of this block. There you can choose the font type, size and style (bold or italic) as well as the text colour. Second, you can set the default font for all the blocks of your site with global font settings.
You would choose to use the global settings if you do not need various layout options or different typography for individual blocks. Using the global settings will save you time and the overall look and design of your website will be consistent.
You can edit these fonts:
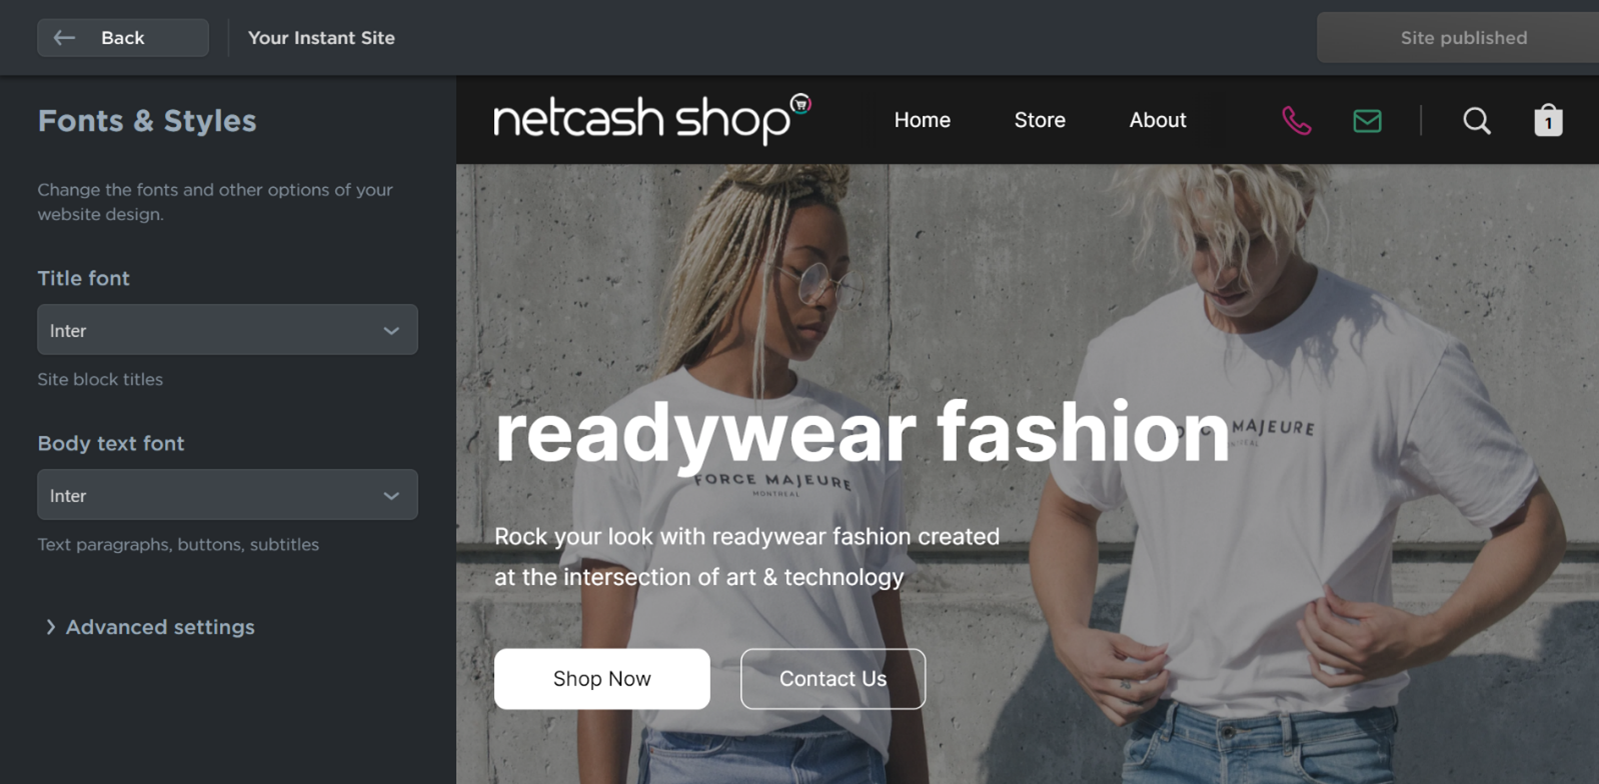
- Title fonts (these are the fonts of the block headings)
- Body text fonts (these are the fonts of text paragraphs, button texts, and subtitles)
If you have set a default font for consistency across your Instant Site, you can still edit individual elements to make changes. The global font settings will be applied to all elements that have the ‘default’ font chosen in the Design tab of the Editor.
If you set up global fonts in the Instant Site editor, these fonts will be applied to your Instant Site and will not be applied to your actual online shop product catalogue where customers browse for products. The store blocks (Featured Products block & Root Categories block) are considered part of your Instant Site. Your product catalogue or online shop is seen as an independent part of your Instant Site.
You also have the option to take design a step further and customise the look of your Instant Site by adding CSS codes. Use Cascading Style Sheets (CSS) to change the styles that are used on your pages. Examples of these changes include changes to fonts, removing prices, adjusting the colour of buttons in the online shop and much more.
To apply fonts and/or styles:
1. In the Netcash Shop admin panel, go to From your Netcash Shop admin, go to Sales Channels > Website > Overview and click on ‘Edit Site’.
2. In the settings menu click on Fonts & Styles.
3. To set default fonts for your Instant Site, choose the fonts in the Title font and Body text font dropdowns.
4. To apply styles, click Advanced settings and enter your CSS code:
Changing website address and store name, and more.
It is simple to customise the name and address of your Instant Site to align with your business branding.
To edit the name of your website:
1. In the Netcash Shop admin panel go to Configuration > Settings > General > Store Profile.
2. Add your store name and web address in the fields provided.
3. Click Save.
To edit the address of your website:
1. In the Netcash Shop admin panel go to Sales Channels > Website > Domain.
2. Click on ‘Change Address’.
3. Follow the steps to customise your free sub-domain or use your own.
4. Click Save.
For a step-by-step guide to setting up domains click here
The customisable domains feature is available on all Netcash Shop paid plans
Showing the cookie consent banner
Most countries require websites to show a cookie consent banner to site visitors. This is a simple feature included in all Netcash Shop plans. To enable the cookie consent banner, go to Netcash Shop admin > Settings > Tracking & Analytics or in the Instant Site editor go to Settings > Tracking and Analytics > Show Cookie Consent Banner.
In countries like the EU, you might need to show the cookie consent banner on your store website. To display it, go to Settings > Tracking & Analytics in the Instant Site Editor (Overview > Manage Instant Site > Edit Site) and enable the Show cookie consent banner toggle:
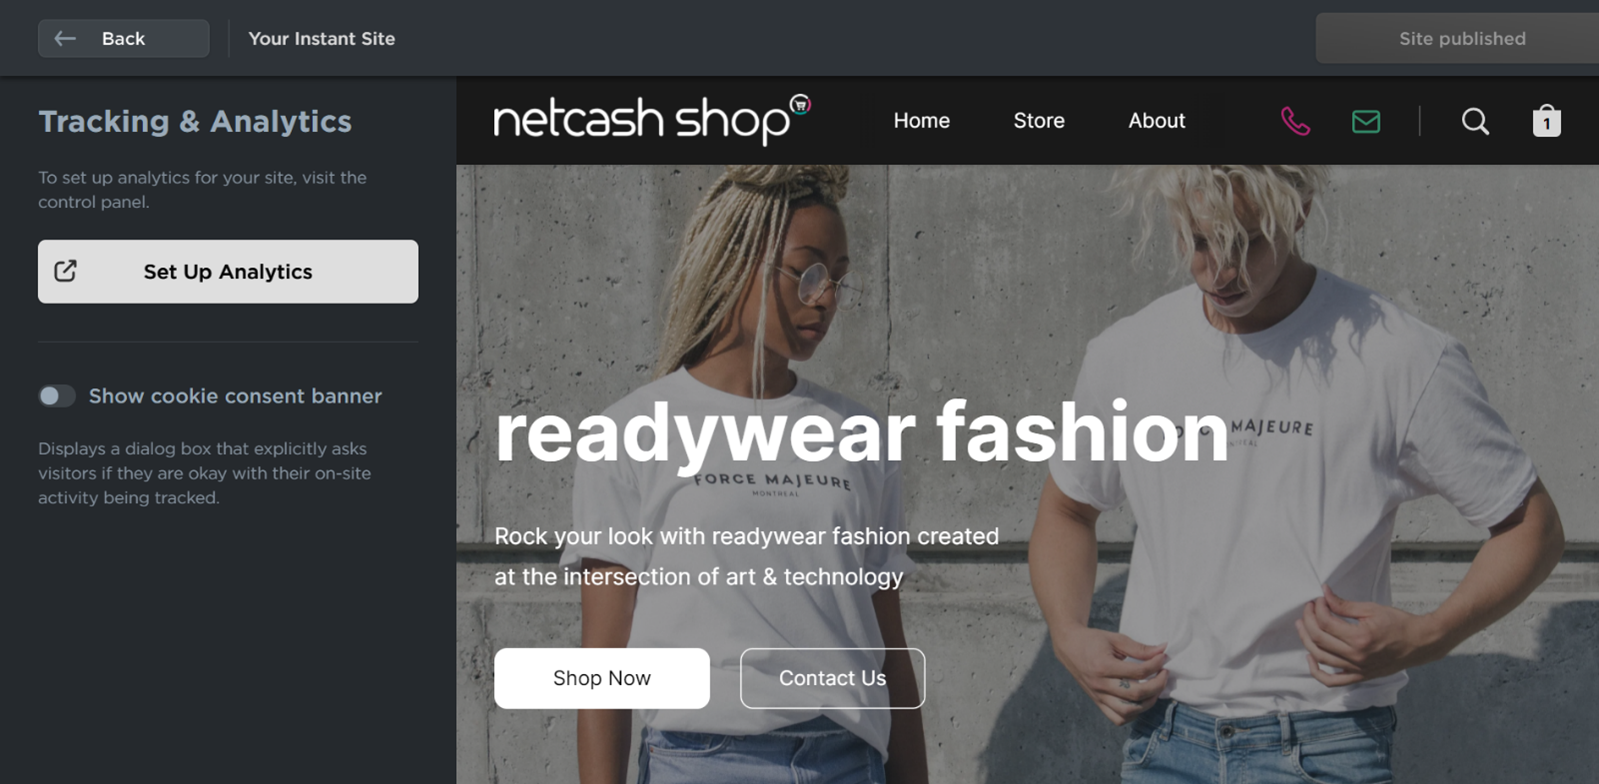
Use the toggle to enable or disable the cookie consent banner. You can choose to display the banner on all pages, or in the Shop section only.