Google Tag Manager is a free tool that lets you quickly and easily create and update pieces of code that are called tags. Tags help you track customer behavior, monitor your store’s performance, and much more. After you add a tag in Google Tag Manager (GTM), it can be automatically added to your website without you having to touch any code in the site’s backend.
You can easily connect GTM with your store on Netcash Shop Instant Site or another website via the Google Tag Manager app from our App Market.
Google Tag Manager benefits
Creating a tag in your GTM account allows adding it to your website right away. No need to go to the site backend and inject any code manually. You can add, edit, and disable your tags on the fly, all in one place.
GTM supports a wide variety of tags:
- • tags from Google products like Analytics or Ads.
- • tags from third parties like Pinterest or Twitter.
- • and even your own custom tags.
Using tags and triggers in Google Tag Manager, you can get insights into your customer’s behavior, and analyze the most popular products or conversion funnel. Any event in your store can be monitored. This way, you’ll get to track page views, file downloads, clicks, and scrolls, adding items to the shopping cart or removing them, and more.
Creating a GTM account and your store’s container
If you already have a Google Tag Manager account and a container for your online store or website, you can proceed to the next section and connect it to your Netcash Shop.
If you don’t have a GTM account, follow these steps to create it:
1. Sign in to your Google Account or create a new Google/Gmail account.
2. Go to https://tagmanager.google.com/
3. Click Create Account.
4. Fill in your Account Name and select your country.
5. Enter the Container name to create a new container for your store/website and choose Web.
6. Click Create.
7. Agree with the Google Tag Manager Terms of Service Agreement that opens.
You can also check Google’s instructions on how to get started
That’s it! Now you have a GTM account and container for your store site. You will see the installation code snippet popup. Close it and copy the Container ID formatted as GTM-XXXXXX in the upper right part of the window:
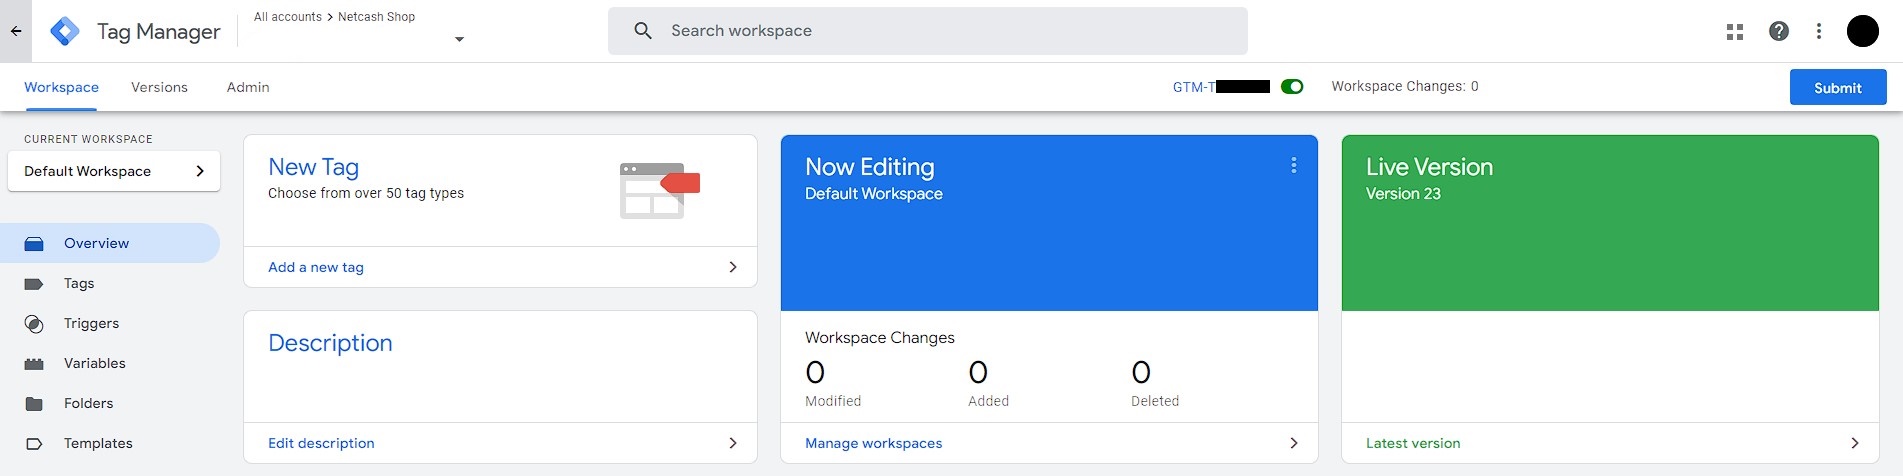
Next, you’ll need to install the app and add the Container ID to your store admin panel to connect your store to GTM. Read on to learn how.
Connecting Google Tag Manager to your store
By default, after you create a container in your GTM account, you then manually install the Google Tag Manager code in the head and body sections of your website. In your online store, you don’t need to access the code directly. To connect GTM to your store on Netcash Shop or another site, simply use a free app from our App Market.
If an online store is added to your site using an iFrame, connecting GTM via the app allows you to track only the events inside the iFrame. To track events on your website, inject code into its backend.
To connect Google Tag Manager to your store:
1. Install the Google Tag Manager app.
2. Go to the GTM website and copy the ID for the container you want to use with your store:

3. Go to Settings → Google Tag Manager in your store admin and click Connect Google Tag Manager.
4. Paste your Container ID into the field:
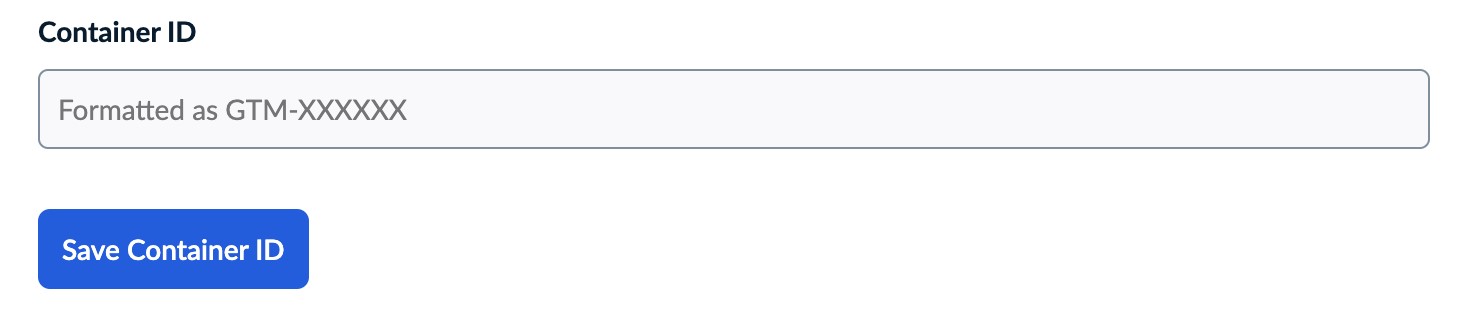
5. Click Save Container ID.
That’s it! You’ve connected your GTM container to your store and website.
Now you can manage tags and more in your Google Tag Manager account. The tags you create there will be added to your store site without any further action required on the store side. For example, if you’re using Google Analytics with your online store, you can configure GA tags and events right in Google Tag Manager and manage them there, along with all the tags from other parties you might need.
Learn more about adding tags in Google Tag Manager help