Adding a new page on your site
Pages contribute to a smooth and effective user experience on a website, and provide more in-depth information about your brand. For example, you can add the About Us page to tell your business story, or the New Arrivals page to showcase the latest items in store.
When you add a new page, it’s available on a direct link, however that link doesn’t appear anywhere on the site just yet (even if you publish the site). You have to manually add the link to a navigation menu. That way, you can take your time to build the page without revealing it to your site visitors.
To add a new page to your Instant Site:
- From your Netcash admin, go to Website → Edit Site.
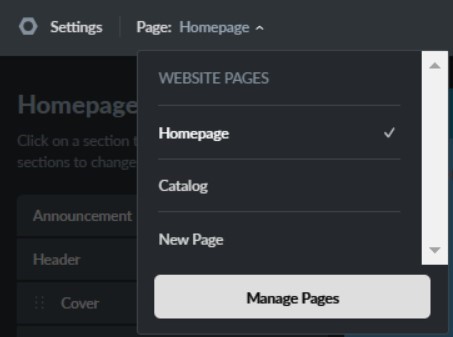
- In the top menu, click on the Page: Homepage and choose Manage Pages.
- Click Add Page.
- Change the default content to the custom one: add your text and images to the page.
- Click Publish.
That’s it. Now your site has a new page, and you can add or edit page sections to finish your page design. During the page setup, you also have to create a distinctive page link (URL) associated with the page content. This makes it more convenient for both people and search engines to locate the page.
Keep in mind that sites with a large amount of pages may take longer to load.
NOTE: When using images from free online sources, it’s essential to adhere to proper usage and crediting guidelines to respect the creators’ rights. Firstly, ensure that the images you choose are indeed labeled for free use, either under a Creative Commons license or public domain. Next, accurately attribute the image by including the creator’s name or username, the title of the image (if applicable), a link to the source, and any specific license information provided by the creator. This information should be prominently displayed on the image or in the page footer. Additionally, if modifications are made to the image, clearly indicate this in the credits. Please note that this does not apply to the free Instant Site images, they do not require crediting.
Changing a page URL and name
Each page on your site has its own link, or URL, ending with a unique subdirectory. For example, mystore.com/about-us or mystore.com/shipping-and-returns. By default, a new page gets a “/new-page” subdirectory, but you can assign a unique name for it. Assigning a unique name to the URL is crucial for identification, SEO, user navigation, content sharing, and overall website functionality.
You can also change the default page name. That name is visible only in the site editor, so your site visitors won’t see it. A unique page name aids in clearer site structure visualisation, especially when you have more than three pages.
To change a page title and link:
1. From your Netcash admin, go to Website → Edit Site.
2. In the top menu, click on the Page → Manage Pages, and choose the page.
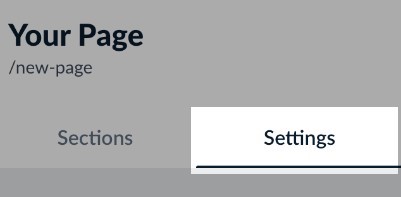
3. Switch to the Settings tab and enter a new name and URL:
4. Click Publish.
We recommend that you choose a unique subdirectory once you create a page and stick to it since changing the URL later may affect SEO. When you change a page URL of a published site, that new URL is treated like a brand new page by search robots, and your old URL no longer works. Any links to the old URL will stop working and the SEO rankings for the page will be lost.
Customising page design
Each page that you add on Instant Site is built from sections. To complete creating a page, you need to configure out the design and content of each section on the page.
The general steps of editing a page section are the following:
- In the Instant Site editor, click the Page dropdown at the top and click the page you want to edit.
- Choose the section.
- Customise content: on the Content tab you can change copy and image. On the Design tab, you can change layout, background, fonts, and image overlay.
- Click Publish.
You will find detailed instructions on how to edit specific sections, in the Shop Setup section.
NOTE: When using images from free online sources, it’s essential to adhere to proper usage and crediting guidelines to respect the creators’ rights. Firstly, ensure that the images you choose are indeed labeled for free use, either under a Creative Commons license or public domain. Next, accurately attribute the image by including the creator’s name or username, the title of the image (if applicable), a link to the source, and any specific license information provided by the creator. This information should be prominently displayed on the image or in the page footer. Additionally, if modifications are made to the image, clearly indicate this in the credits. Please note that this does not apply to the free Instant Site images, they do not require crediting.
Adding a page to the navigation menu
By default, a new page is available on a direct link, and does not appear anywhere on the site, so that customers can’t reach the page while you set it up. When you finish customising the page, you can add it to the navigation menu so that visitors can see the page right away and navigate it.
In addition, you can link the page to a button on your site, so when visitors click the button, they land on that specific page.
To add a page to the top menu of your site:
In the Instant Site editor, click the Page dropdown at the top and choose Homepage:
- Click Header → Navigation menu → Add Menu Item.
- In the Title field, enter a name that your visitors will see in the top menu of your site. For example, About Us.
- In the Action on click field, choose Go to link and enter the link to the page.
Click Publish.
Hiding a page from visitors
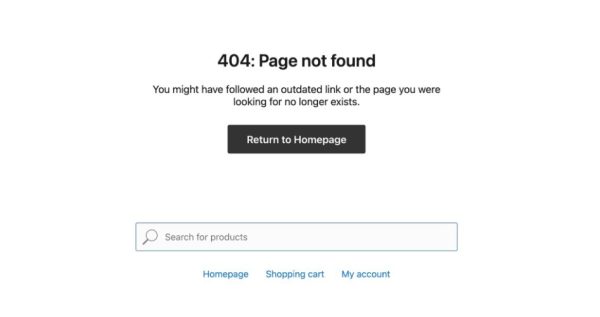
Whenever you need to update the page or for any other reason, you can temporarily hide a page from visitors. When you hide a page, it won’t be removed from the navigation menu, you have to delete the menu item manually. When hidden, locating a page via the direct link will display a 404 error. Visitors will have the option to return to your homepage or search for products:
To hide the page from the site:
1. In the Instant Site editor, click the Page dropdown at the top and choose the page you want to hide.
2. Switch to the Settings tab:
3. Turn off the Show page toggle.
4. To show the page again, turn the Show page toggle on.
5. Click Publish.
Deleting pages
You can permanently delete a page if you no longer need it. However, remember that permanently deleting a page affects SEO: search engines like Google will remove the page content from your site’s index and decline specific keywords in ranking that might affect the overall visibility of your website in search results.
Instead of deleting a page, you can update the content by transferring the content to other pages, or create a 301 redirect to keep traffic and ranking in Google and other search engines.
To delete a page from your site:
- In the Instant Site editor, click the Page dropdown at the top and choose the page you want to delete.
- At the bottom of the page, click Delete page.
- (optional) If you deleted a page by mistake, click the Undo button at the top right corner of the editor. You can only do this before you publish the changes to the site.
- Click Publish