Snap Pixel for your Instant Site
The Snap Pixel is a piece of code that records the behavior of users who come to your store after clicking on the ad in Snapchat. You will see what pages they view, how many of them add products to bag, start or complete the checkout, etc. This will help you understand your audience better and adjust the Snap ad campaigns if needed.
Table of content
Setting up the Snap Pixel for your store
Checking the Snap Pixel
Events recorded by the Snap Pixel
Setting up the Snap Pixel for your store
Step 1. Get the Snap Pixel ID
1. Go to your Snapchat Ads Manager and log into your existing account or create a new one.
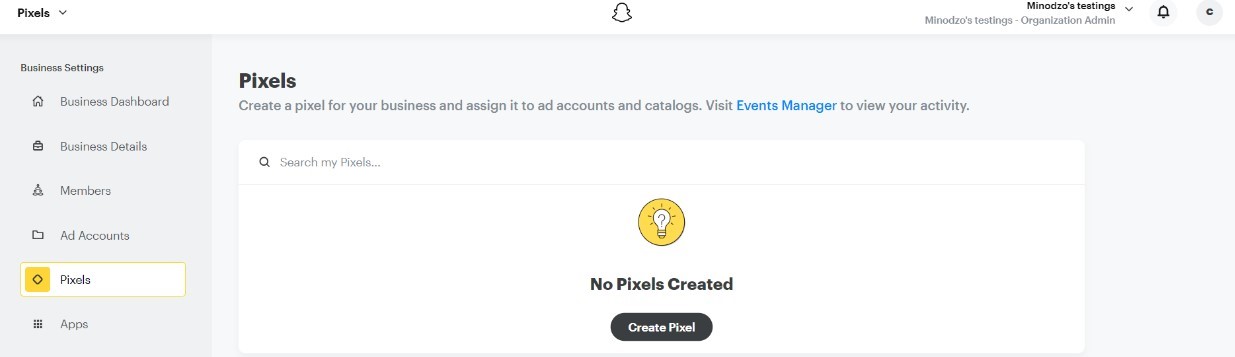
2. Click on Ads Manager→ on the top left corner select Create Ads→ Pixels.
3. Click Create Pixel:
4. Create a pixel name and create
5. Click Set up Pixel in the right upper corner.
6. Copy Pixel Code to copy the Pixel ID.
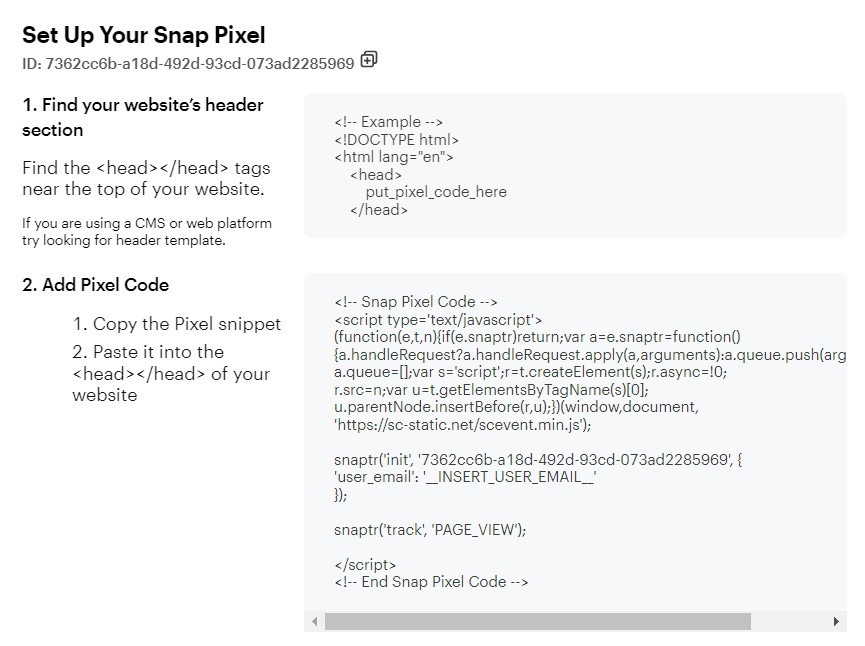
7. Now you should add the copied pixel ID to your store admin.
Step 2. Add the Snap Pixel ID to your store
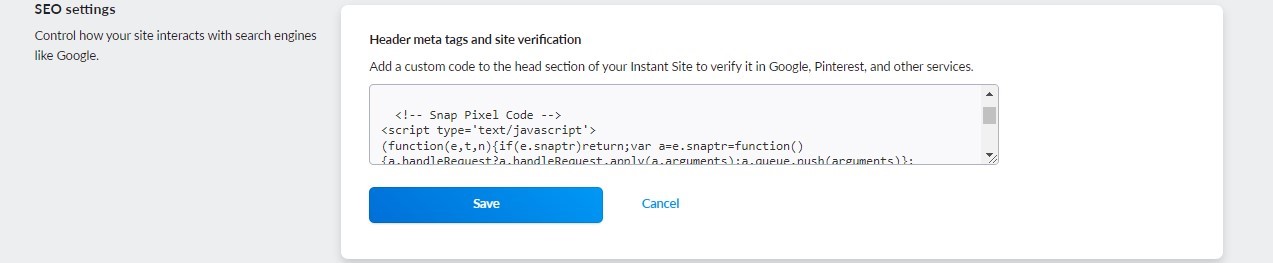
1. From your store admin, go to Settings → General → Tracking & Analytics.
2. Find the Snap Pixel section and paste the Pixel ID into the field.
3. Click Save.
4. (Optional) You can also add the Snap Pixel to the website where your store is, to track what other website pages users view. The pixel added to your store will track only pages and events in your store.
Checking the Snap Pixel
You can check that the Snap Pixel works correctly and tracks the events in your store using the Snap Pixel Helper Chrome extension Install it to your Chrome browser and browse the store pages, search for something, add products to bag, etc. The extension will show what events are passed on in the pixel.
Visit the Snap Pixel Help Center to learn more about how to use the extension and troubleshoot the pixel.
Events recorded by the Snap Pixel
After you add the Snap Pixel to your store, you can see what actions users take in your store in the Snap Ads Manager. You will be able to see these kinds of events:
Page View — a user views any store page.
View Content — a user views a product or catalog page.
Add Cart — a user adds a product to cart.
Start Checkout — a user added products to cart, went to the checkout but didn’t place an order. You’ll also see an abandoned cart in your store admin in this case.
Add Billing — a user chose a payment method at checkout.
Purchase — a user has placed an order in your store.
Search — a user searches for something in your store.