To add a menu with your store categories to a website where Netcash Shop is added, use the Category Navigation Menu widget. It’s a piece of a code that should be pasted to a website source code. If you have many nested categories, the menu will help shoppers quickly find the category they need:
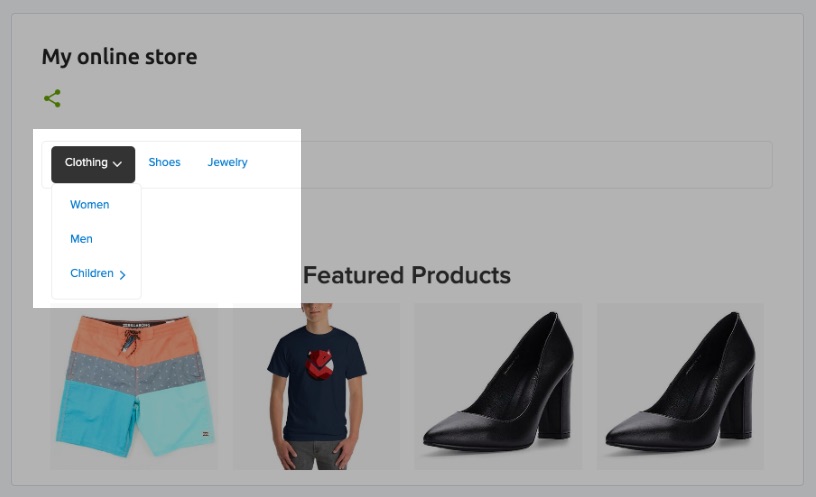
The menu adjusts to the width of the page it’s been added to. If added to a responsive website, the menu is also responsive and looks great on mobiles:

You can add this menu to your website if you have a custom site or use a site builder or CMS where you can edit the source code of your pages.
For WordPress users: if you’ve added Netcash Shop to a WordPress site, the plugin has a ready setting for adding a store with category menu.
For Wix users: you can add your store categories to the horizontal menu of Wix site menu following this instruction Adding categories of Netcash Shop on Wix.
Get the code for your category menu
To get the menu widget code for your store:
1. From Netcash Shop admin, go to admin > Overview.
2. In the “Sell on your website” section, click on the Custom website.
3. Scroll to the Store extensions section and click Add Category Navigation:
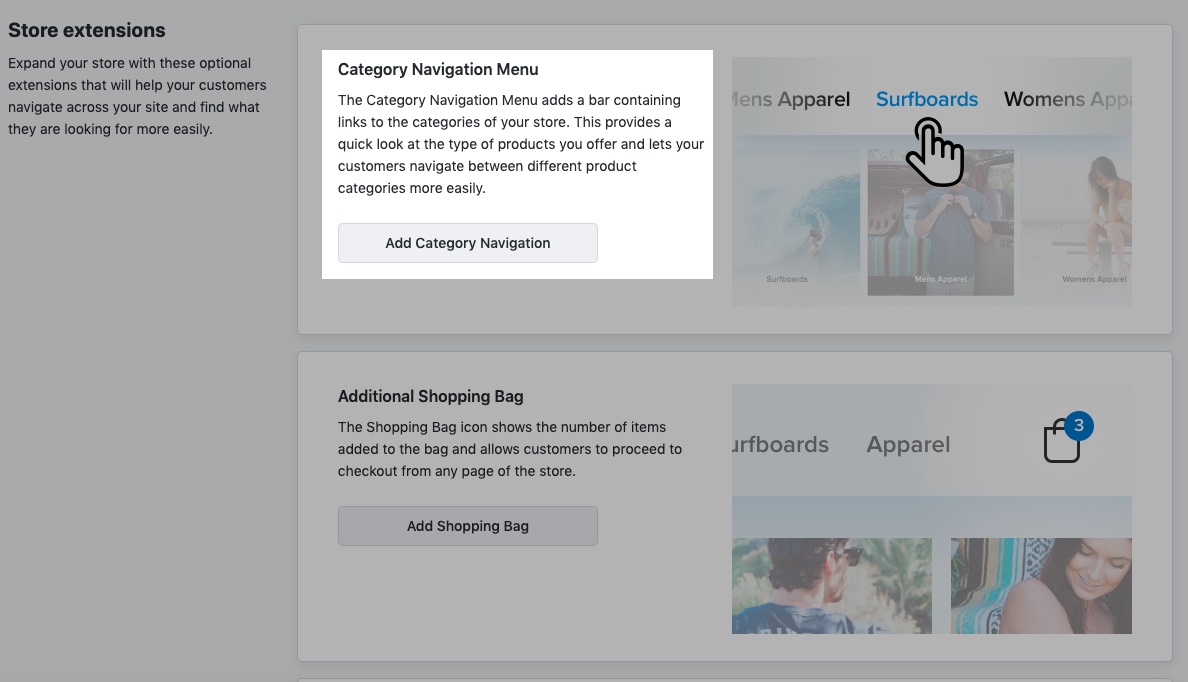
The code will be copied and you can add the code for your store’s category menu to your site.