Accepting payments with your online store – 3 Easy steps
March 23, 2021
Sell on Your Blog: A Simple Way to Add a Buy Button
March 31, 2021
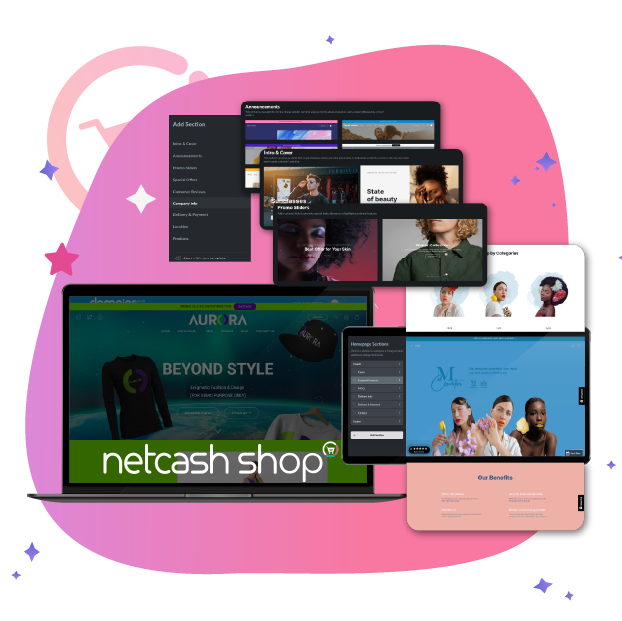
You’ve taken the first steps to starting your online shop and we’re here to help you create a stylish and professional website with an online shop, in no time. Netcash Shop has all the tools you need to build an eCommerce empire without any coding or design skills.
This guide will give you the basics to set-up-shop within a day. It is important to note that you need to activate the Netcash Pay Now eCommerce payment gateway before you can start accepting payments, so make sure you submit your application so that you can build your online business while we handle the paperwork in the background.
Okay, let’s get you up and running!
Table of contents
- Step 1: Sign up & sign in
- Step 2: Add and organise products
- Step 3: Add business information
- Step 4: Decide where will you be selling
- Step 5: Personalise store design
- Step 6: Set up a web address
- Step 7: Enable payments
- Step 8: Set up shipping and/or pickup
- Step 9: Check the store before launching
- Next steps
Step 1: Sign up & sign in
If you have not already set up a Netcash Shop account, existing Netcash customers can activate the Shop service via the Netcash Merchant Account, or if you do not have an existing Netcash Merchant Account you can set up a free 30 day demo shop using your email address. Select your option.
The email address you use must be unique for each Shop you set up, and you will not be able to use an email address that has already been registered with our global partner, Ecwid by Lightspeed.
If you have a Netcash Shop account already, sign in here.
Congratulations, you are on your way to adding online sales to your income stream! If you have chosen to run with our free plan, your shop will stay free forever, as long as you have a minimum of 1 transaction on your Pay Now account every 30 days.
When you log in, you will land on your brand new Netcash Shop control panel, seen below, and presented with a to-do list to guide you through store configuration and the product loading process.
You can upgrade or change your Shop plan in your Netcash Merchant account.

Step 2: Add and organise products
Let’s set up your first product together. Select ‘Catalog’ on the navigation bar on the left of your Netcash Shop control panel. You will see that we have included a number of demo products to give you an idea of how to set up your products and manage the listings.
To delete demo products, tick all products, then click Bulk Update that appears above the product list, and choose to Delete Selected.
You can sell physical products, services and digital products with Netcash Shop, which is limited to 10 products on the free plan and digital products are only available on the paid plans.
Let’s add your first product. If you want to delete the demo products, tick all products and then click bulk update that appears above the product list and choose the delete option.
- In the Netcash Control Panel, navigate to Catalog à Products.
- Select +Add New Product.
- Fill in the main product details, for example, the product name, SKU code, product description and product price. If you will be charging your customers shipping based on weight, you should include the weight of the product too.
- Upload a clear image of your product. If you don’t have product images yet, you can skip this step and Netcash Shop will show a gradient place-holder image as the product’s thumbnail in grid. You can also hide images from a product grid.
- Add your available stock quantity, or leave as unlimited if you have ample stock.
- Click Save.
Top Tip: Your product page is your ‘Sales Person’. Customers shopping online can’t pick up your product to inspect it, feel it, smell it or try it on. Make sure that your product name and descriptions are clear and include enough information about the product to help your customer make a buying decision. As soon as your customer has to look for information about the product on another forum, they probably aren’t coming back.
The same applies for images, make sure that you have enough, but not too many, clear high quality images to help sell your products.
That’s it! You have successfully added a product to your store!
Now that you have products, it’s time to create product categories to arrange your products making it easier for customers to navigate and shop on your site. Some ideas of product category types
Next, you can create product categories to organize your products, making it easier for your customers to navigate and search. For example, you can create the following types of categories for a women’s fashion brand:
- Product types like jeans, shirts, underwear, shoes
- Size and colour
- Seasonal or sale items

Step 3: Add business information
It is important to add information about your business to your Shop, both for you and for your customer. Your company details will automatically be added to customer email notifications so that they know how to get in touch with queries. Navigate to ‘Settings’ on the Netcash Shop control panel to add relevant business information like Legal, policies, currency, taxes and language.
If you are offering your customers a scheduled local delivery or in-store pickup, setting a time zone allows you to process the orders in time. You will also need to give your customers access to your refund policy, privacy and terms of service before they place an order.
Make sure you add these:
- The name, website address and email address for your company
- Your company’s physical address
- The Currency you are selling in
- The Legal pages relevant to your trade

Step 4: Decide where will you be selling
If you do not already have a website, you can create a website with Netcash Shop Instant Site. Instant Site has over 70 customisable themes for you to choose from, no design or development skills needed. You can also add your Netcash Shop multiple platforms and to any existing website or blog. It is possible to sell across many platforms and manage them all from 1 control panel. Updates sync across all platforms.

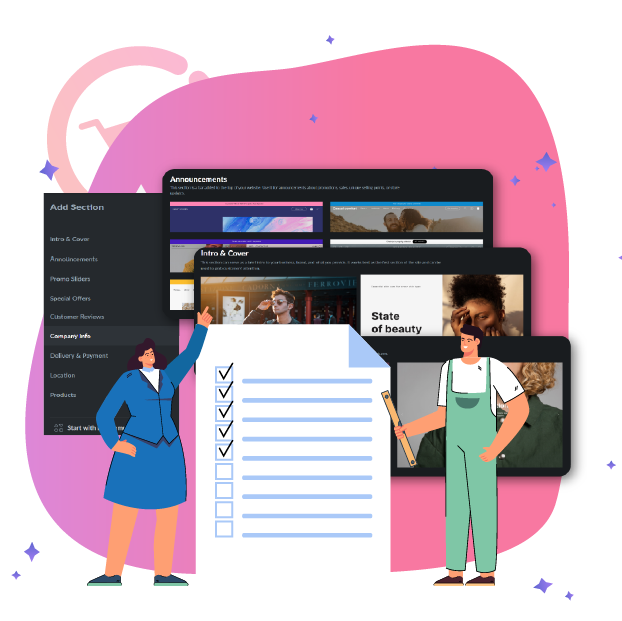
Step 5. Personalise store design
OK, we’re getting to the fun stuff. Netcash Shop has loads of customisable design elements that you can personalise to make your Shop design align with your brand identity. You can customise the header image, text, your company logo and page layout. Netcash Shop’s design themes are fully responsive so your Shop will look good on any device.
Any changes made on the Design page can be previewed instantly by clicking on View [your store name] button in the top right corner. This opens your Shopfront in a new window.
If you are using the Netcash Shop Instant Site, navigate to Sales Channels à Overview and scroll down to and click on Manage Instant Site. You can completely personalise the design of your Instant Site Shopfront by choosing from over 70 themes, adding your content and viceos, your company’s story, maps, and more using content blocks.
The best place to start is with the headline and cover image or video, to set the tone for the rest of the site. Then add the additional information and changes are instant and shown in the editor window.

Step 6: Set up a web address
Your Netcash Shop Instant Site has a free web address myshopname.netcash.shop.co.za. It’s a free subdomain where the first part of the address can be customized by you to better reflect your brand.
It you would like to personalise your web address on the Netcash Shop subdomain, follow these steps:
- Navigate to ‘Website’ on the Netcash Shop control panel, and scroll down to Domain name and site address.
- Then click Change Address.
- Choose a name relevant to your business.
- And finally click Save.
You also have the option to use an existing domain or buy a new domain from a third-party provider if you do not want to use the free subdomain.
Remembering that your Shop can be added to any existing website, if you already have a website created on a site builder like WIX, WordPress or any other, you won’t have to worry about creating a unique domain. Just add your shop.
This applies across Facebook and Instagram too, you can simply connect your Netcash Shop and sync across all platforms.
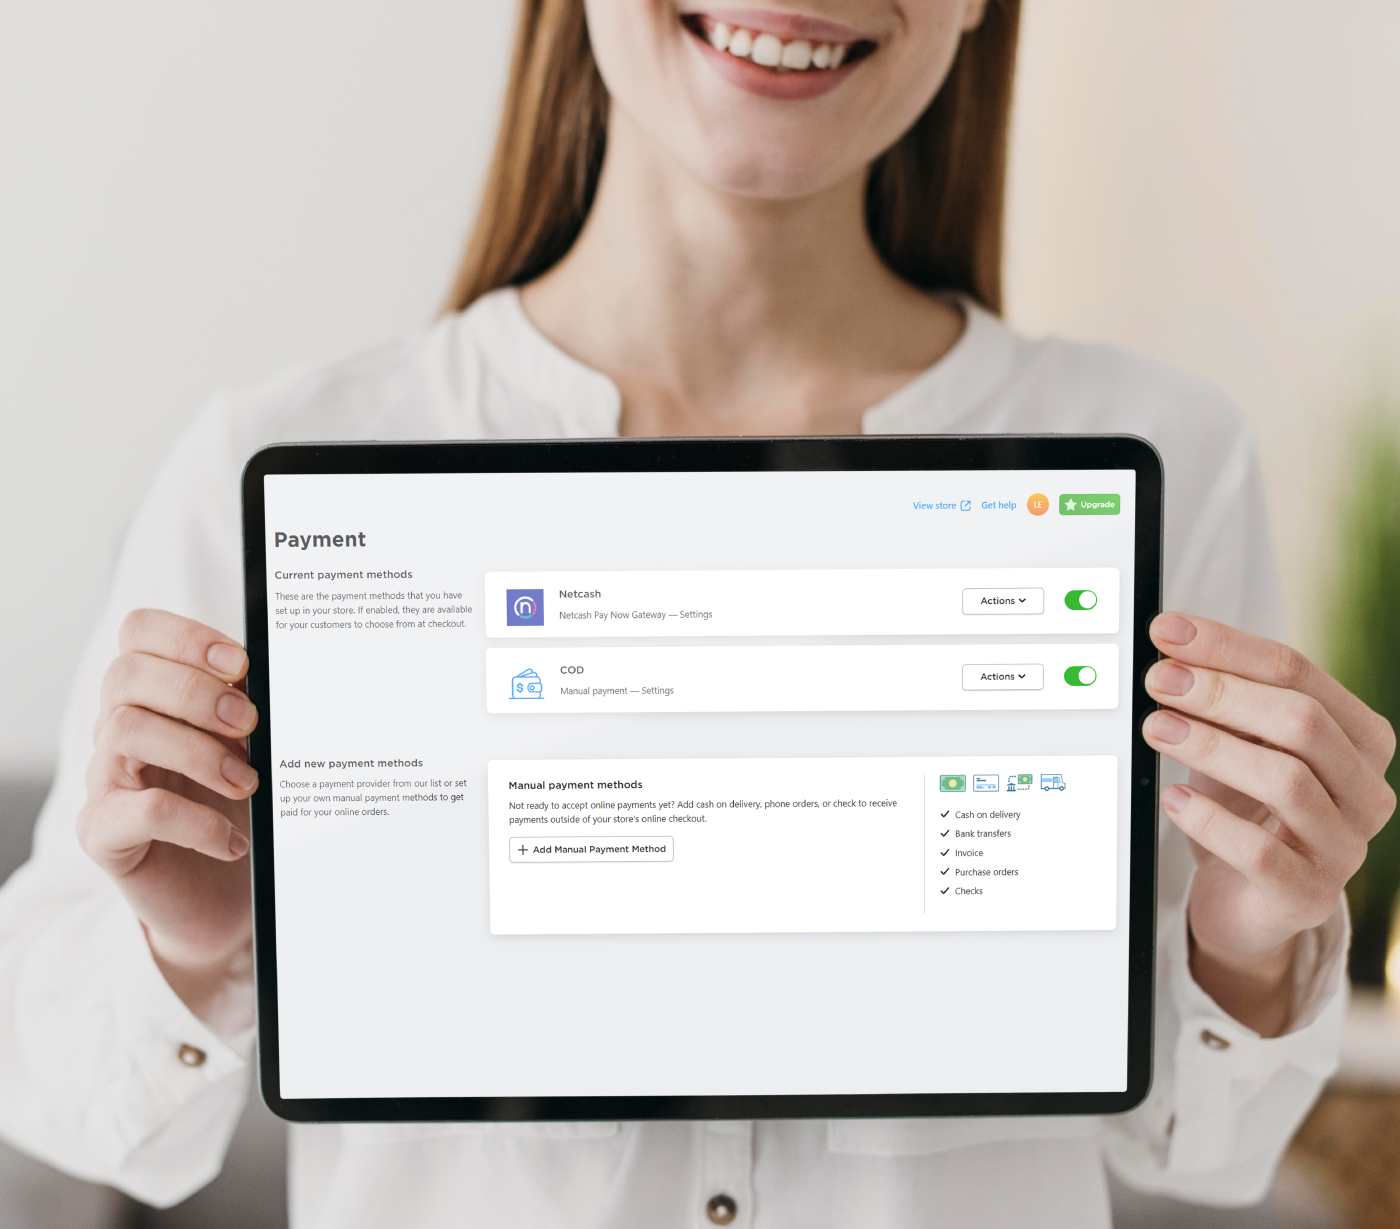
Step 7: Enable payments
Of course you need to be paid for all of this hard work. We have made this step oh-so-simple for you. The Netcash eCommerce Payment Gateway (Pay Now) is pre-installed so you do not need to open an account with any third-party providers.
Note: When setting up your Shop, it is advisable to submit your application for the Netcash Pay Now service (eCommerce payment gateway) as soon as possible. To make sure that we stick to the rules to keep your site and your money safe, we require some information and a couple of days to process your application.
You can build your Shop and have fun with the design while the Pay Now application happens in the background, but until the application is approved you will only be able to accept EFT payments.
When your application has been approved, copy your Pay Now service key from the Netcash Merchant Centre and paste it in the field provided in the ‘Payment’ tab on your Netcash Shop control panel.

Step 8: Set up shipping and/or pickup
Your orders are rolling in. Shipping will not be required for digital products like ebooks or services, but you will need to set up shipping parameters for a ll physical products that require shipping.
Netcash Shop has multiple options available for shipping. You can choose to offer free shipping on all orders, or set up a rand value per order. If you want to charge shipping rates by weight, you can do this too. Shipping rates by location? No problem, you can set shipping rates by region.
Netcash has partnered with Fastway Couriers for a fully integrated shipping solution. The Fastway Couriers plugin can be installed from the Netcash Shop App Market. All you need to do is set up your Fastway Customer Account, link the account in the app in your Netcash Shop control panel and start shipping your online orders. Order updates, shipping labels, pickups and tracking are automated and integrated, once again allowing you to run your entire business from 1 control panel.
Start shipping by:
- What is your shipping strategy?
- Calculate rates manually using your preferred courier/pickup option, or open a Fastway Couriers account for automated rates calculations.
- Set up the shipping rates under Shipping & Pickup in your Netcash Shop control panel or in your Fastway Couriers app, to ensure that you charge your customers the appropriate rate when ordering.

Step 9: Check the store before launching
Ready to roll? Do your final checks before launching your Shop. Here’s our checklist to make sure you launch smoothly:
- Do an overall shop audit – make sure that your design and navigation look complete. Are all of your images and product descriptions making sense and matching the items in the store. Click on your Shop domain as seen above to open up and view your shop.
- Test the order process by placing a few test orders. Make sure your shipping rates and taxes are displaying correctly. Did you receive the transaction for your test order?
- Use your email address when placing the order to check how the order confirmation would look when it is emailed to a customer. If you are using the My e-shop app, you will receive a push notification every time a new order is placed.
- If you did custom changes to the design of your Shop with the help of CSS code, double check that all buttons and links are clickable and the elements are not overlapping.
Tip: it is not as easy as you think to spot errors if you built the site yourself, we suggest getting a second opinion with a fresh eye. Ask a family member or friends to review and place an order. They can give you additional feedback
When you have double checked everything, take a deep breath, and get ready – it is time to start selling online. Check that your shopfront is visible to everyone by navigating to Settings > General > Store Profile, scroll down and make sure you are open for business.
And just like that, you have launched your business online and everything is running like clockwork.
Now it’s time to link your Netcash Shop to Facebook and begin marketing on social media.


Author:
Steven Howard
eCommerce Product Owner
Stay in Touch
![]()
![]()
![]()
![]()

Subscribe to our mailing list to learn about our new features and marketing tips & tricks.
Subscribe to our mailing list to learn about our new features and marketing tips & tricks.