9 Step to get started building your eCommerce Store
March 25, 2021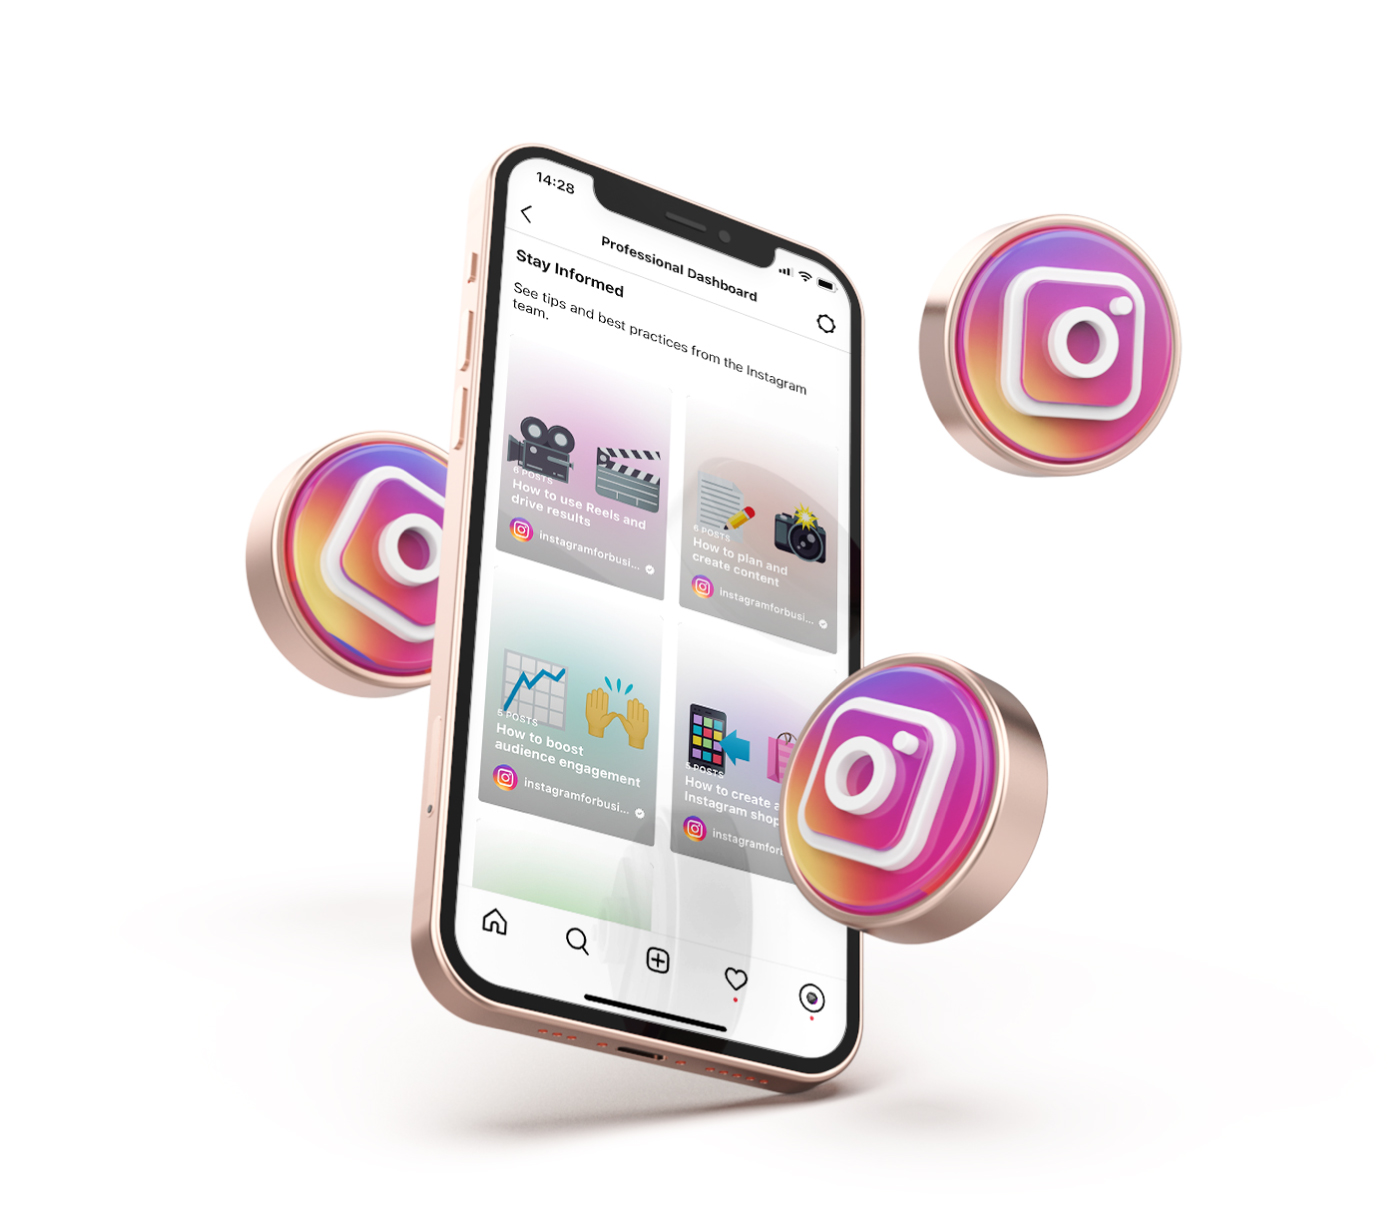
5 Ways to Boost Sales on Instagram
April 21, 2021
Netcash Shop is a flexible eCommerce widget that makes selling online simple. You have many different options available, all managed from 1 central Netcash Shop control panel. All you need is a browser and internet connection, or download the app to sell-on-the-go.
You can use the WordPress or WIX plugin for Netcash Shop to add your Shop to any existing website, and you can use the Facebook plugin to open your Facebook or Instagram Store. If you’re selling on marketplaces you can also add your shopfront to the platform. You can sell online, across multiple platforms simultaneously.
The opportunities are endless, you can increase your reach and grow your business faster than ever.
One of the great features that Netcash Shop offers, is the “Buy Button”. This easy-to-use tool is great for talented bloggers that haven’t quite set up a business yet, or prefer to sell directly from multiple blogs.
In short, the Buy Button is an embeddable product template or product card complete with checkout via your Netcash Shop account. You can add your product card to any website or blog and allow customers to purchase your products in just 1 click without having to leave the site or blog to checkout.
In this blog post, we will show you how easy it is to use the Buy Button and how you can use it to boost your business and make some sales.

Sell from your blog using a Buy Button
There are a few ways to make money by selling from your blog. The fastest and easiest way to do this is to add a Netcash Shop Buy Button.
The Buy Button is good looking little widget that you add to specific pages on your blog by simply copy & pasting a short piece of code. The word code sounds scary, but it isn’t – remember that Netcash Shop is the easiest (in my opinion) to use eCommerce shopping cart or widget available.
When you add the code to the page, you will be able to see product information like the product images, the product description, product price, and you can even add the quantity to purchase. Our Buy Button has a few different layout styles for you to choose from so you can choose how much information you want to display on your blog.
Layout styles:


When you add the widget to your blog or website, it will adjust automatically to look authentic and true to your blog’s colours. It will look as if it had always been there.
While your customers are on your blog, they can add to cart and proceed to checkout without leaving the page. The widget is designed to keep your customers on the blog while they make a purchase to help them feel secure and increase your conversions.
Netcash Shop makes it easy to sell one or multiple products across many platforms simultaneously, by embedding your products into your blog posts. Why wouldn’t you want to sell your products right where your content is and where your readers already are.
Here is our step-by-step setup which will teach you how to create a Buy Button for your blog:
1. Create a Netcash Shop account
Netcash Shop has a 30-day Free Plan which is easy to use and quick to set up. On the Free Plan, you can list up to 10 products and your Shop stays free if you have a minimum of 1 transaction, big or small, going through your account every 30 days. The Free Plan offers a full toolkit the help you sell online successfully, including:
- Multiple websites – list your products across multiple sites simultaneously.
- Ten products free – no catch, as long as you’re transacting.
- Responsive design – tour shopfront looks good on all devices, big and small.
Have a look at the four Plans we have available for you and compare features on our pricing page.
2. Create your Buy Button
You need to set up your Netcash Shop account and build your catalogue by adding products, activating your Netcash Pay Now payment gateway and defining your shipping options.
When you are up and running, you can create your first Buy Button:
- Navigate to ‘Overview’ in your Netcash Shop control panel.
- Scroll down until you see “Buy buttons” and click on “Get Started.”
- Choose your product.
- Choose your preferred Buy Button layout and product information you want to display.
- Click “Generate code.”
- Click “Copy code.”


3. Add Buy Button to your blog
Now that you have created your Buy Button, it’s time to add it to your blog. Log into your website backend and open the page you’re editing. Paste the code you copied to the section you would like to display your Buy Button and save your changes.
Done & Dusted. Netcash Shop will take care of the rest!

Author:
Talisa du Preez
Stay in Touch
![]()
![]()
![]()
![]()
Subscribe to our mailing list to learn about our new features and marketing tips & tricks.
Subscribe to our mailing list to learn about our new features and marketing tips & tricks.